2 minutes, 19 seconds
Back in May for this past Las Vegas Science and Technology Festival, the SYN Shop hosted an open house. It was awesome!
 I volunteered to show folks our Laser Cutter. This is by far one of, if not *the*, most popular tool at the SYN Shop. In preparation of showing folks how it worked, I made a bunch of cubes. Not just any cubes though! I started with a 1.6″ cube at Maker Case with finger joints. I then added our logo. I did a test run and quickly saw that the translucent side of the acrylic I was using looked much better when viewing it from through the oppisite clear side, instead of viewing it directly.
 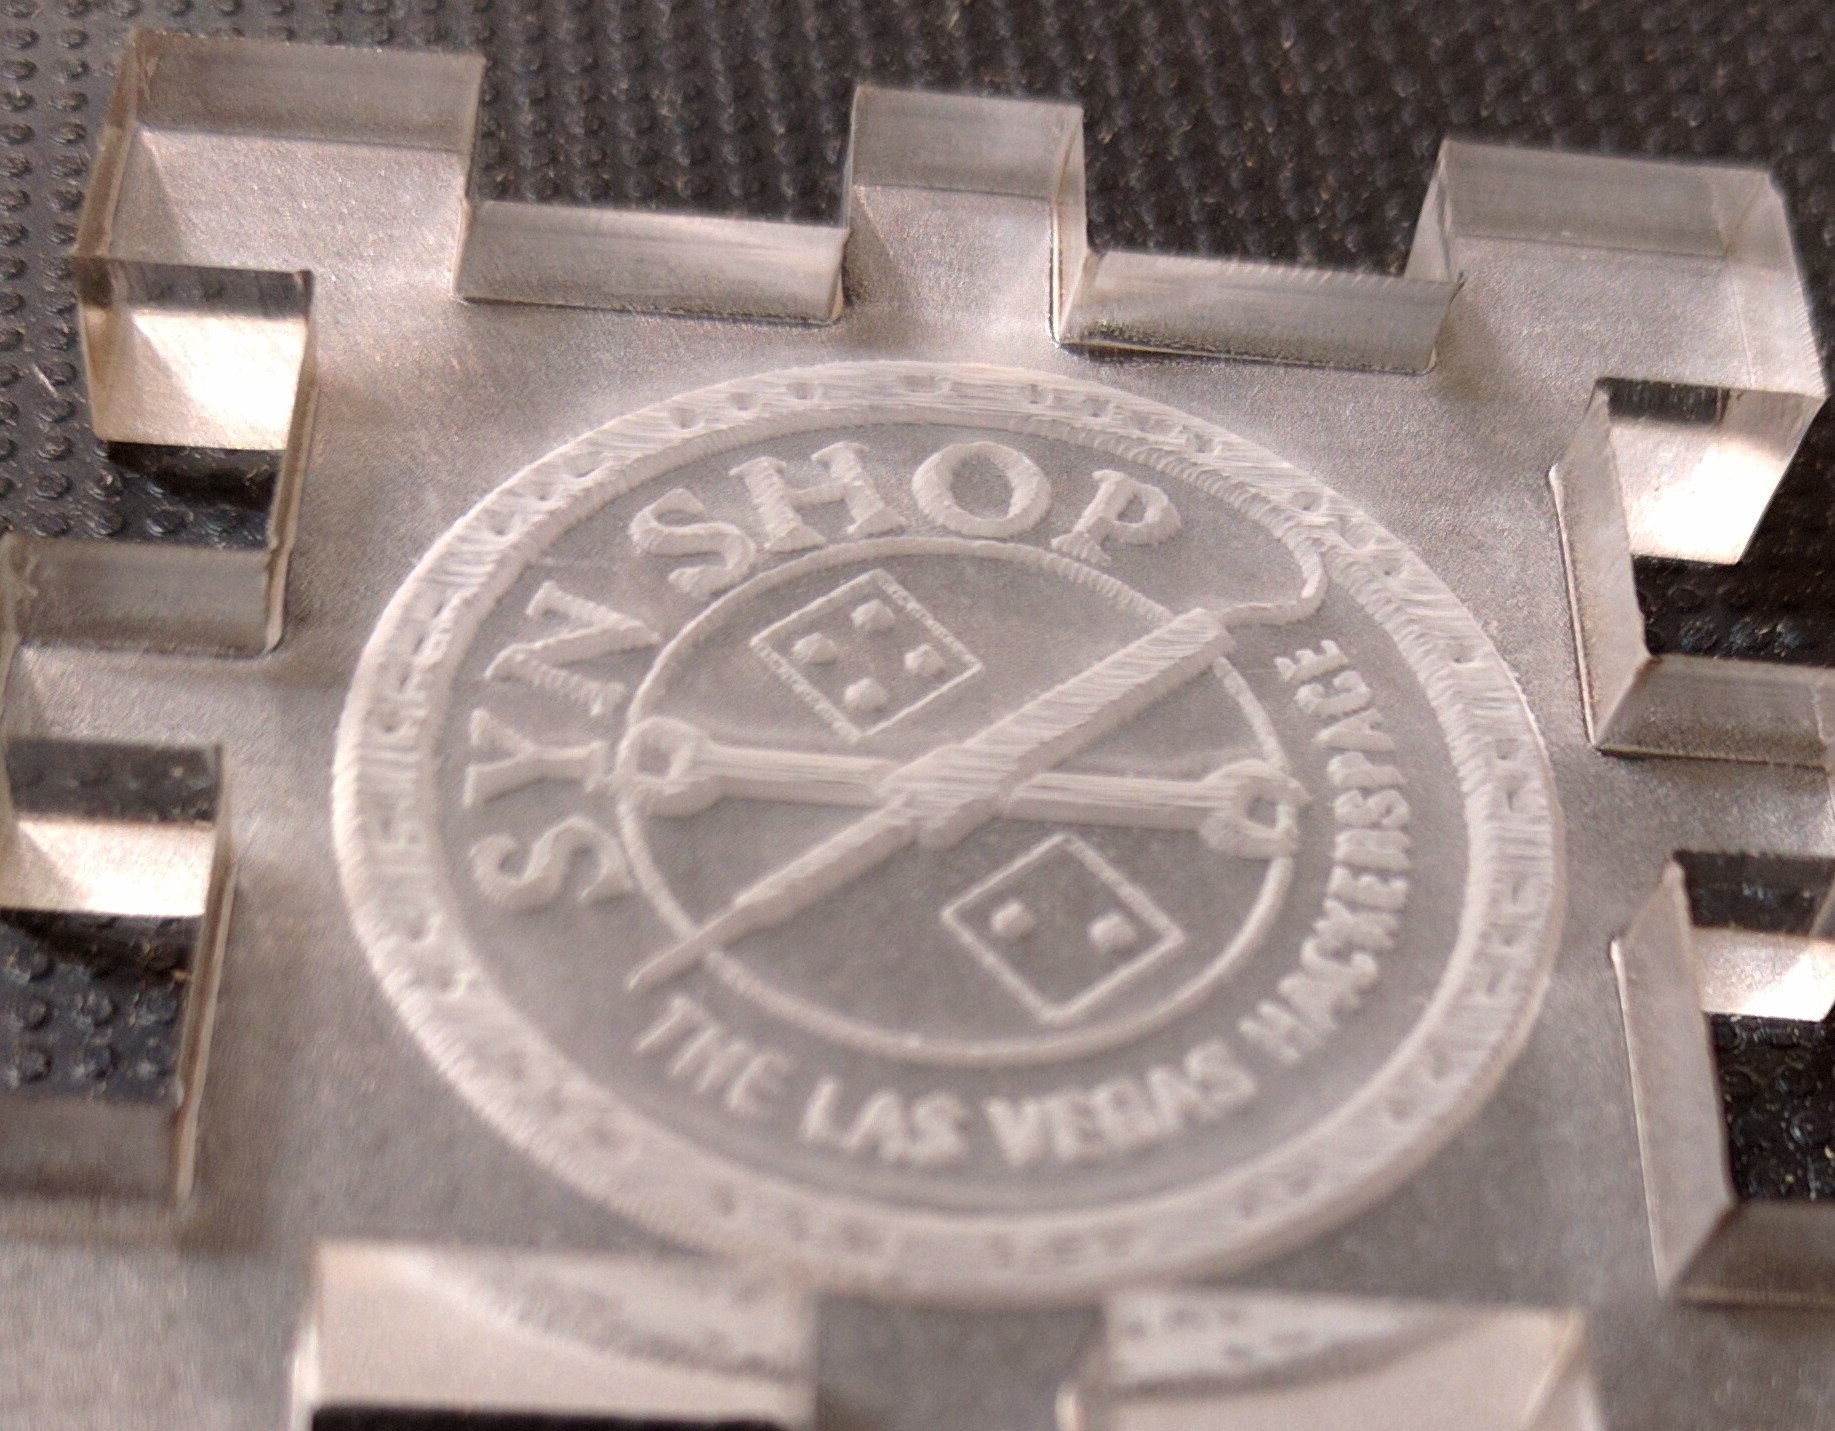 I reversed our logo and as well added a very small mark in the upper left. This mark would allow me to run two discrete jobs: an engrave job and then a cut job. If you do them as one the laser cutter will engrave all your cuts and then cut them – a huge waste of time. The mark in the upper left allows me to keep the registration the same as long as I don’t move the bed or the piece on the bed.
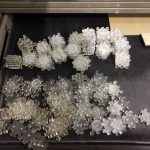
 After feeling confident I had a good prototype design and size, I embellished it a bit by adding the 5 dice sides 1-5, the sixth would be our logo. I then laid it out as many up on the design as our laser cutter would handle, 4 x 3. Each sheet took over an hour to engrave the logos and dice faces and cut. I think I ended up making 48.
 I learned after doing one sheet later on that though you get a bit less burn marks when you leave the protective sheets of paper on – it takes WAAAAAAY longer to peel when it has a logo engraving into it one side and then the cube face cutting it too. I pre-peeled both faces to save time. However, my son was totally into the production of peeling, stacking, and rubber banding the whole thing. I didn’t even need to tell him that he and his sister would get one to share after we ere done. We had fun!
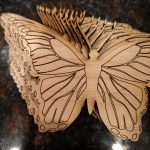
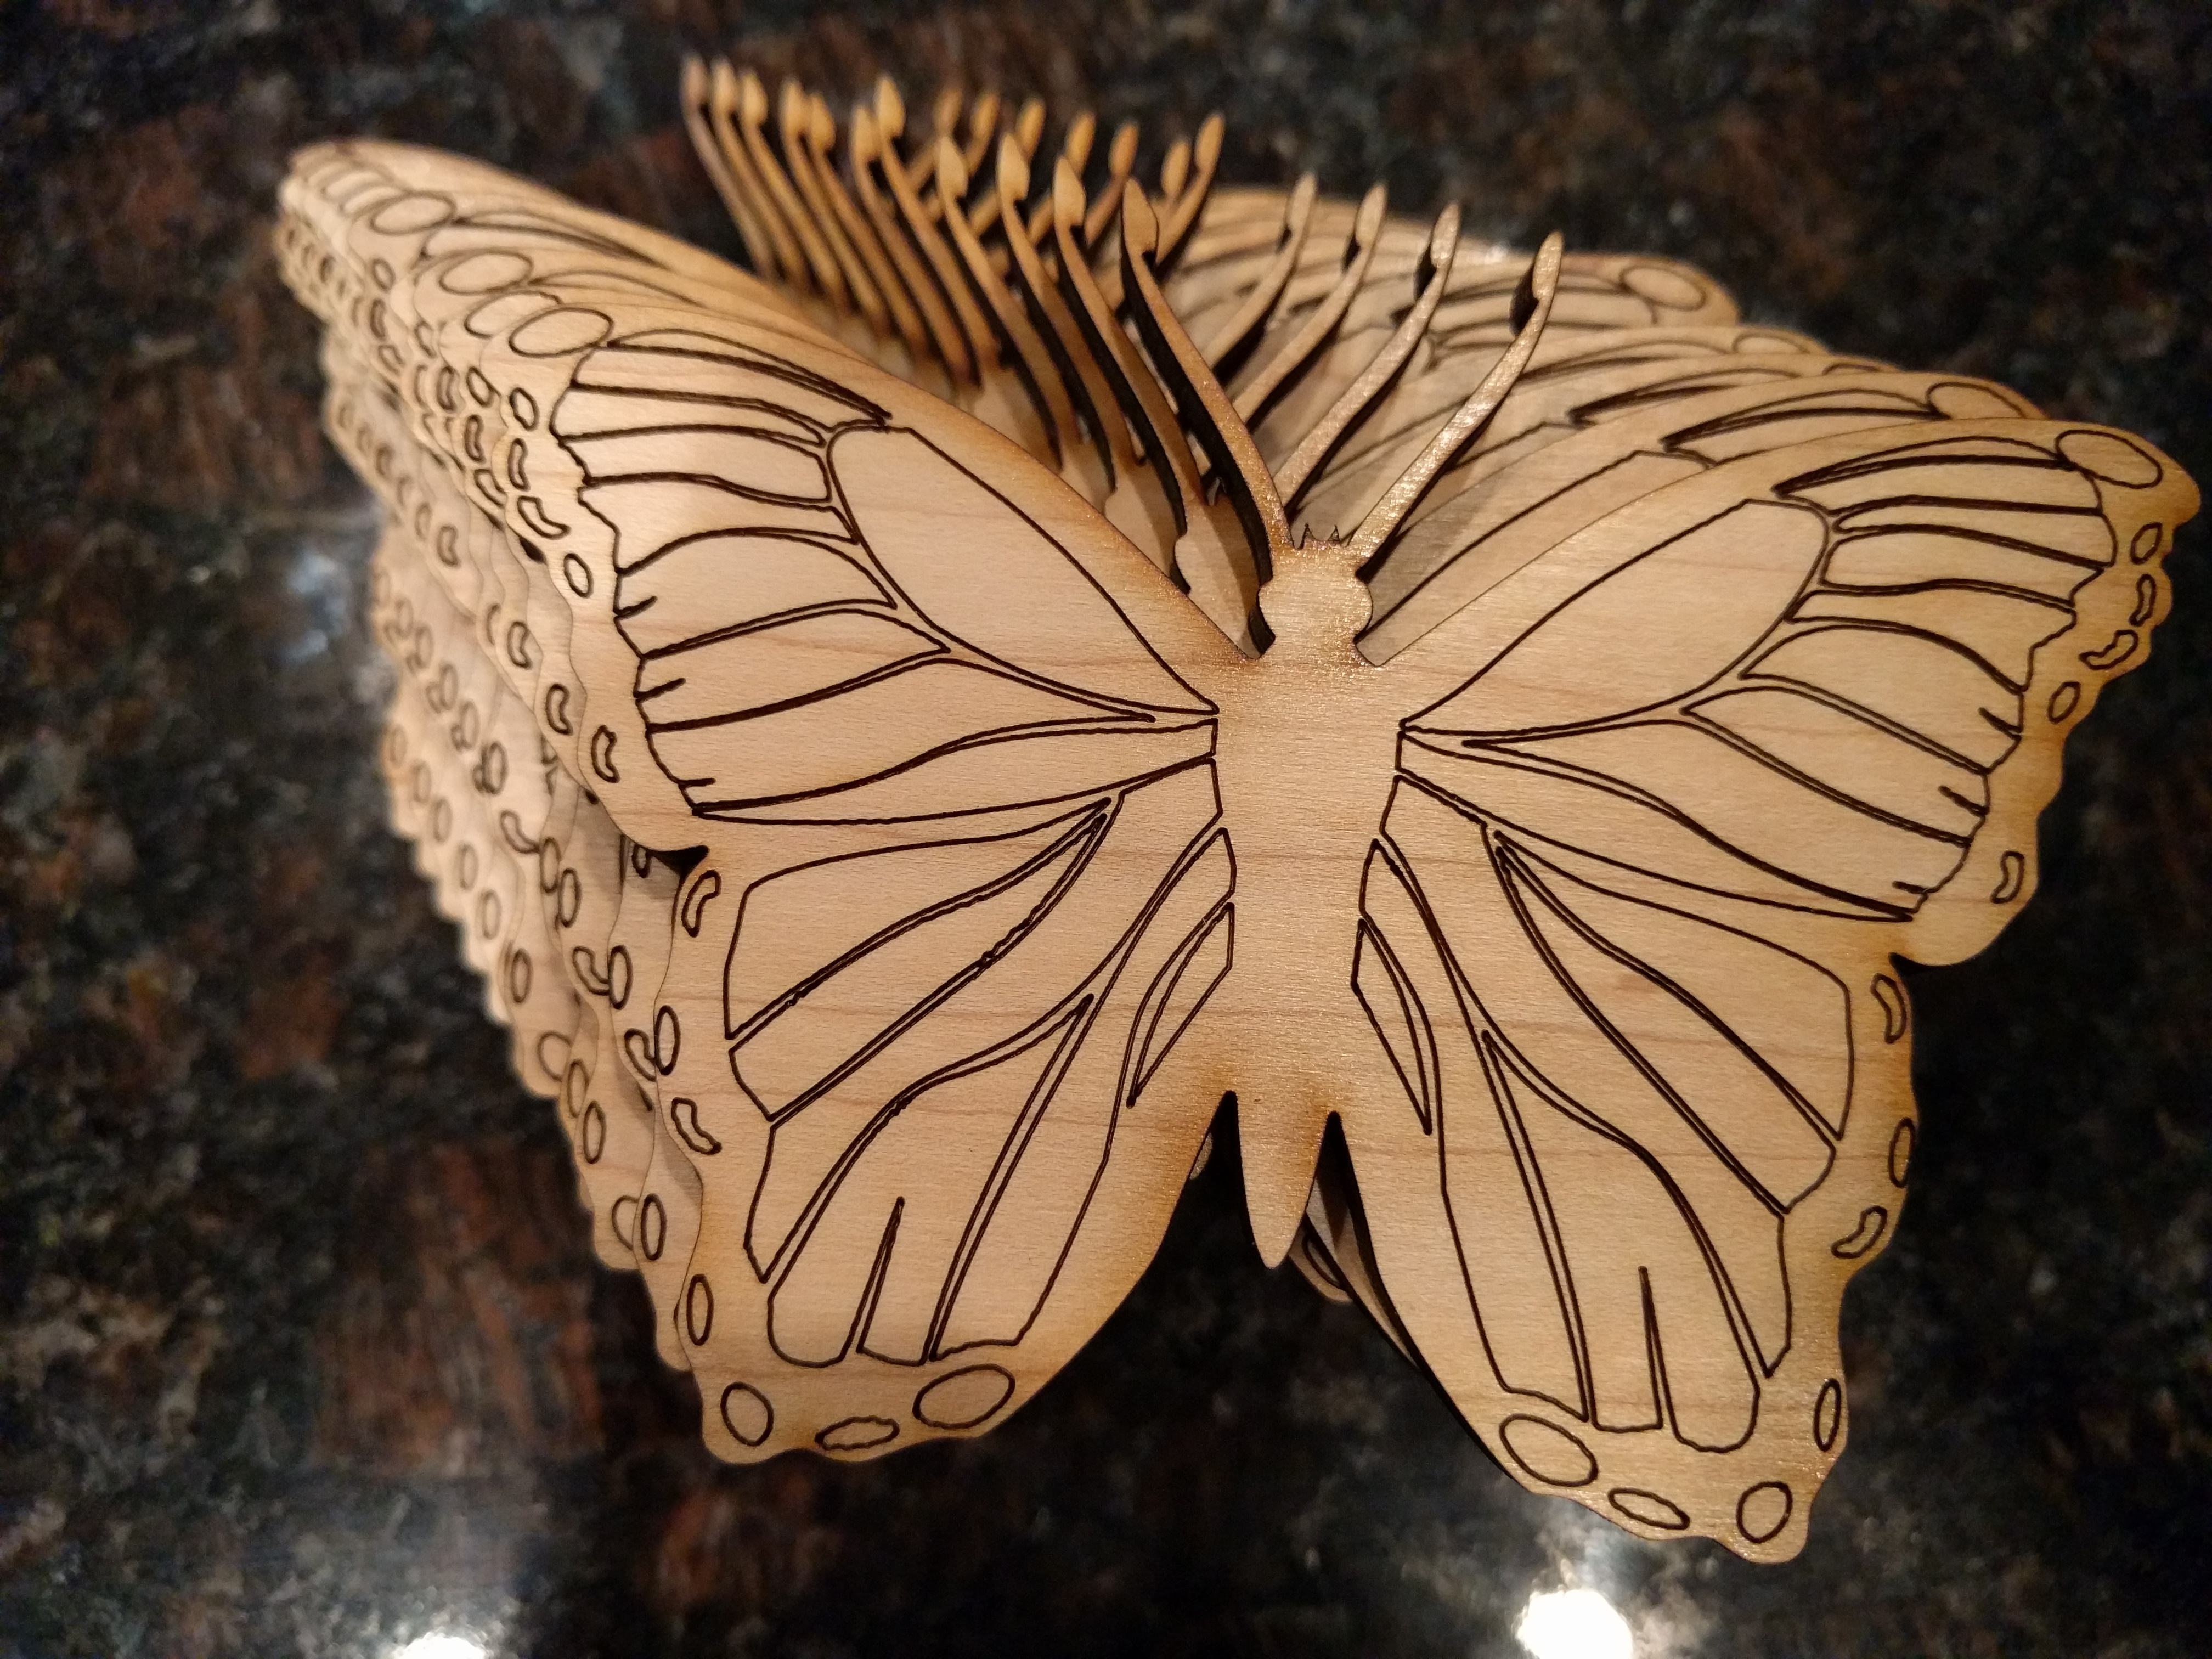 During the event it self, I wanted to keep the laser cutter running to show how it works. As well, we quickly ran out of acrylic dice, so I needed another design to cut. I found a good, butterfly image that I traced in Ink Scape to create a nice looking SVG. From that, I made a bunch of test cuts and then just left it running during the day. As soon as the job was done I could pop open the lid and hand out hot, freshly cut butterflies.
 All of the SVGs in this post are free to use for what ever purpose you want. It’d be great to hear of any uses though! I actually have a huge backlog of SVGs I’ve created over the past 1+ year that I should share…


Finally, here’s a video of my kids very much enjoying two octopi 3D printed with heat sensitive filament (also free handouts that day ;)
https://vimeo.com/179411667