1 minute, 24 seconds
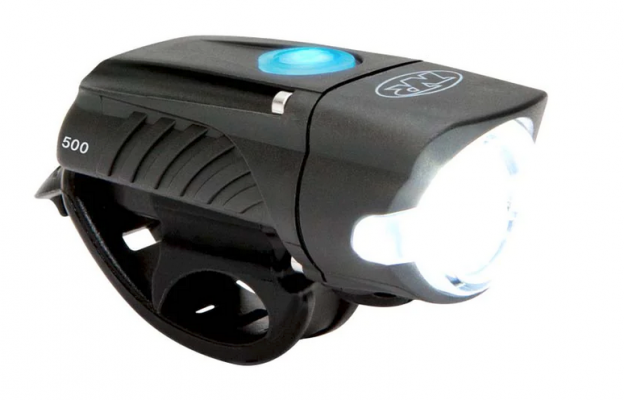
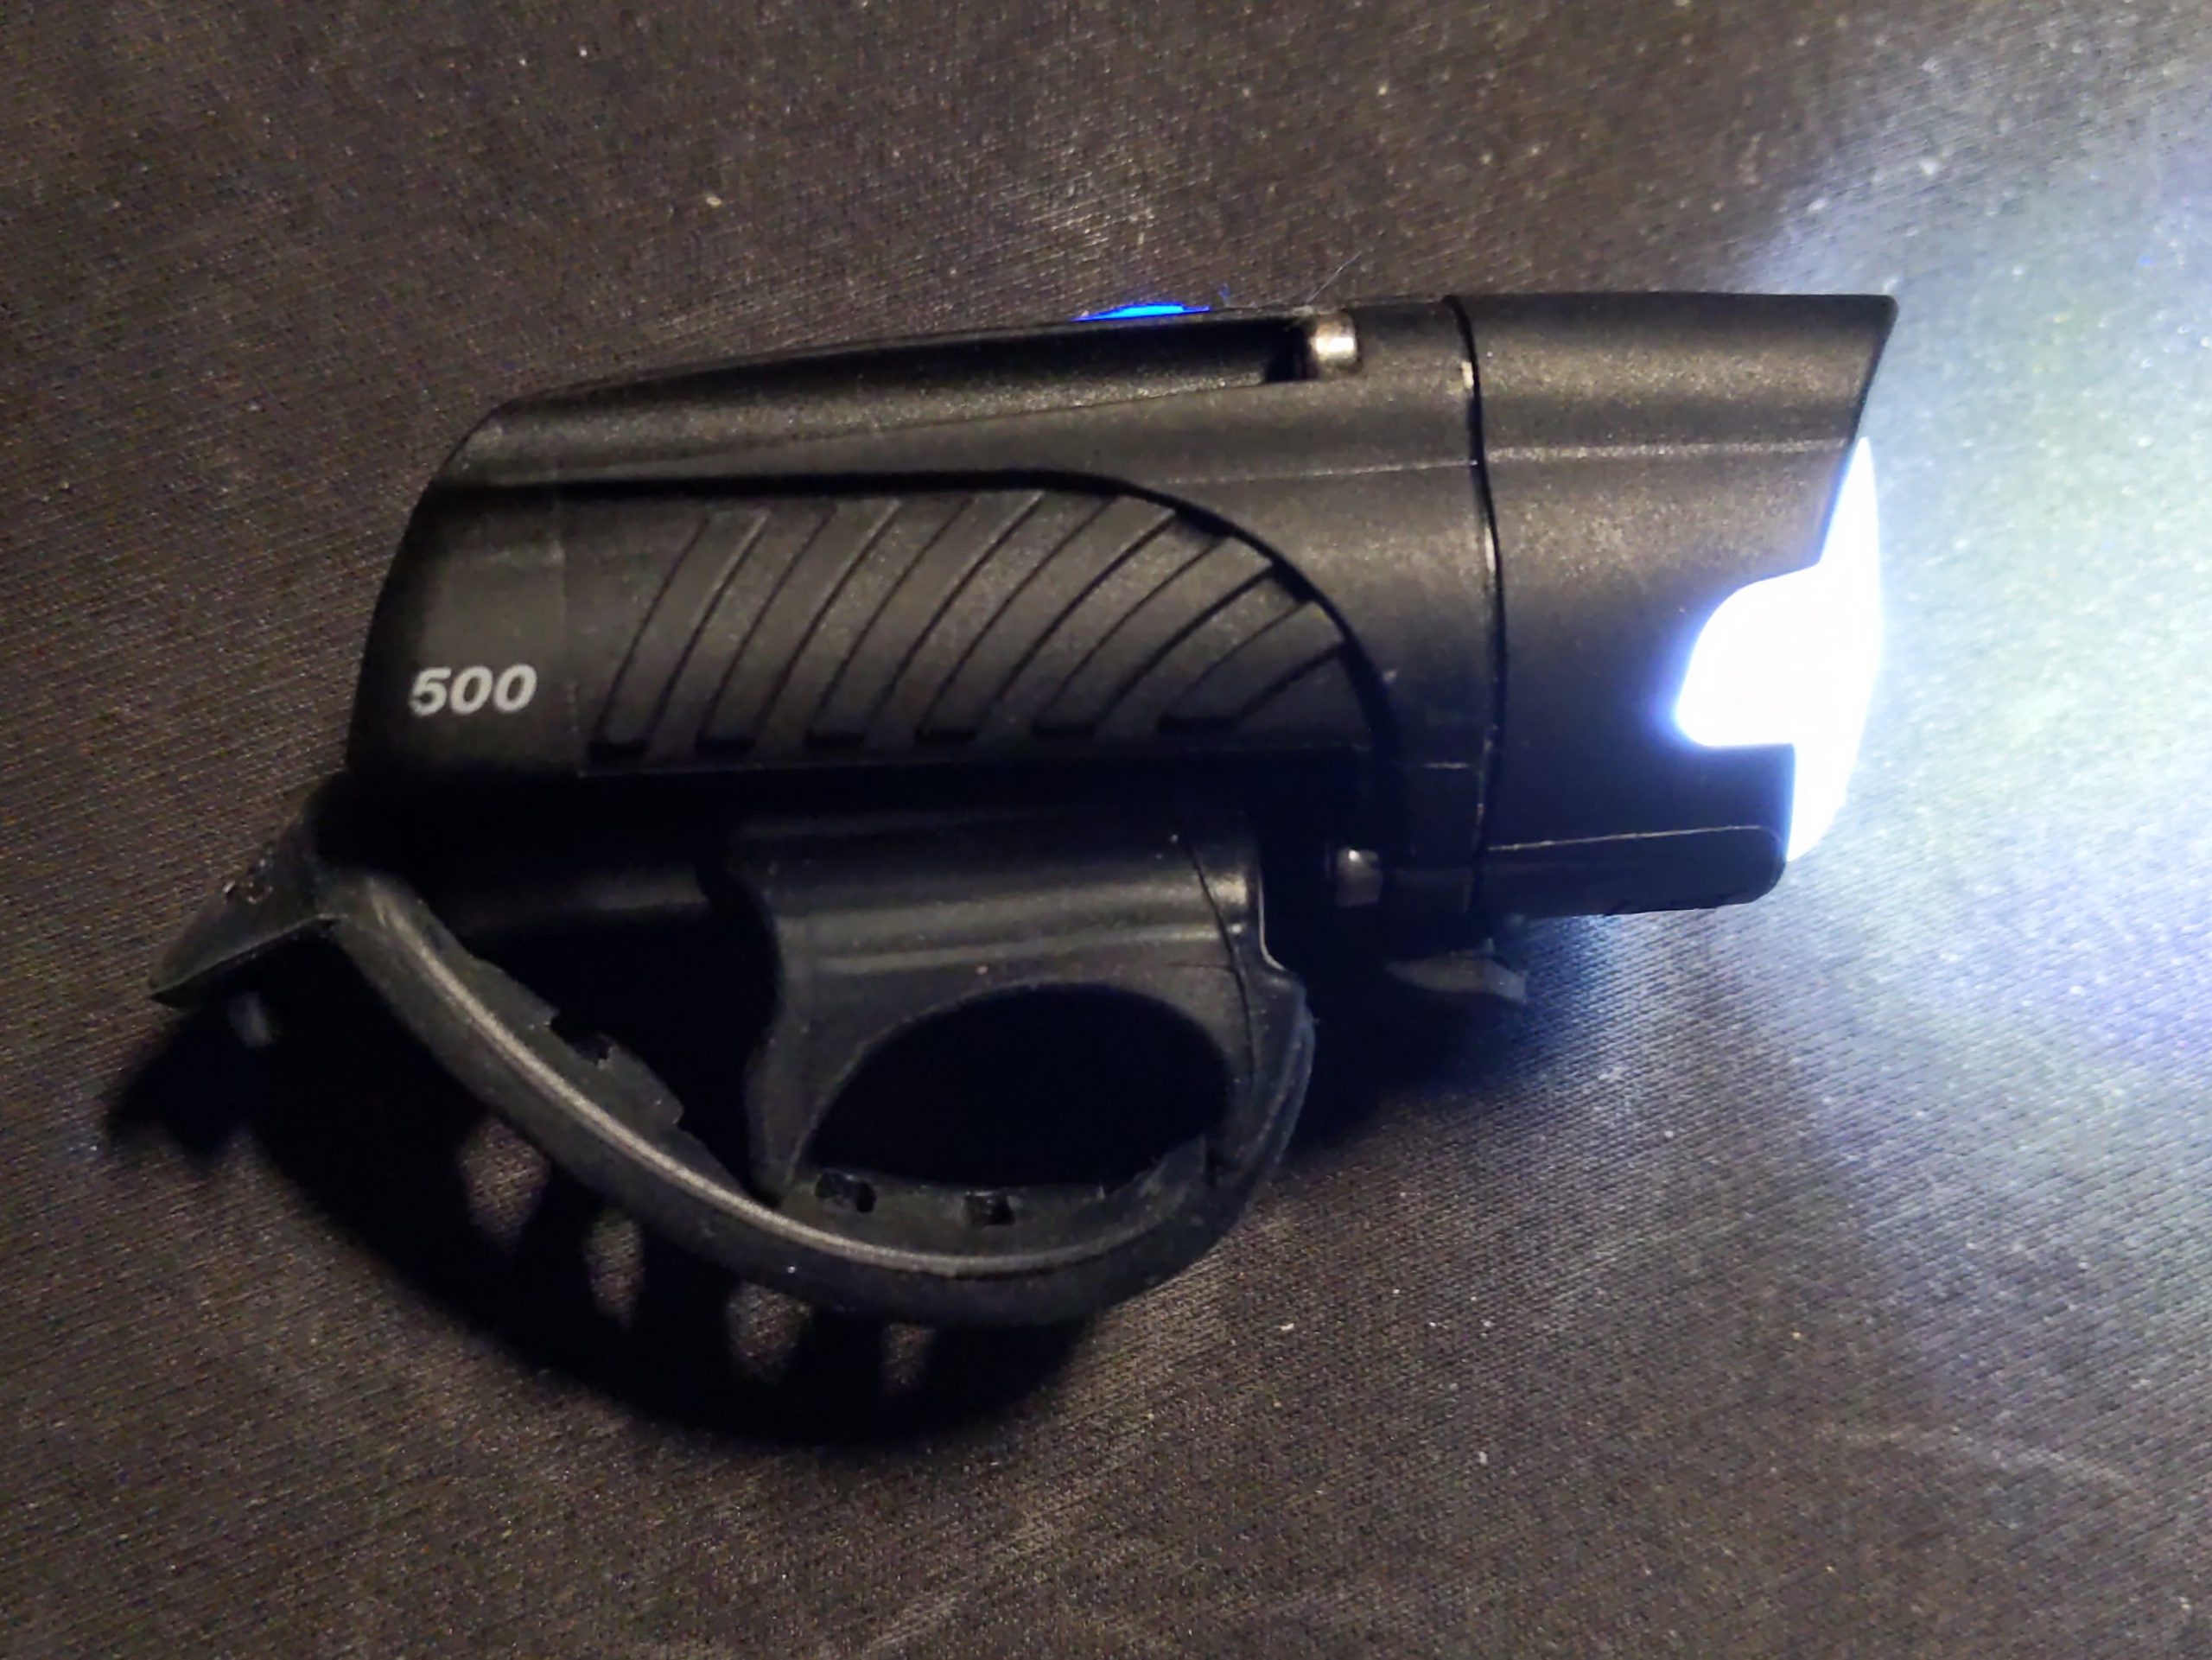
A while ago the battery on my NiteRider Swift 500 headlight stopped taking a charge. I looked at NiteRider’s FAQ page and saw no mention of the batteries being user serviceable. Further, when I searched online, I didn’t find any guides or replacement parts for the light. Time to grab a screwdriver and DIY!
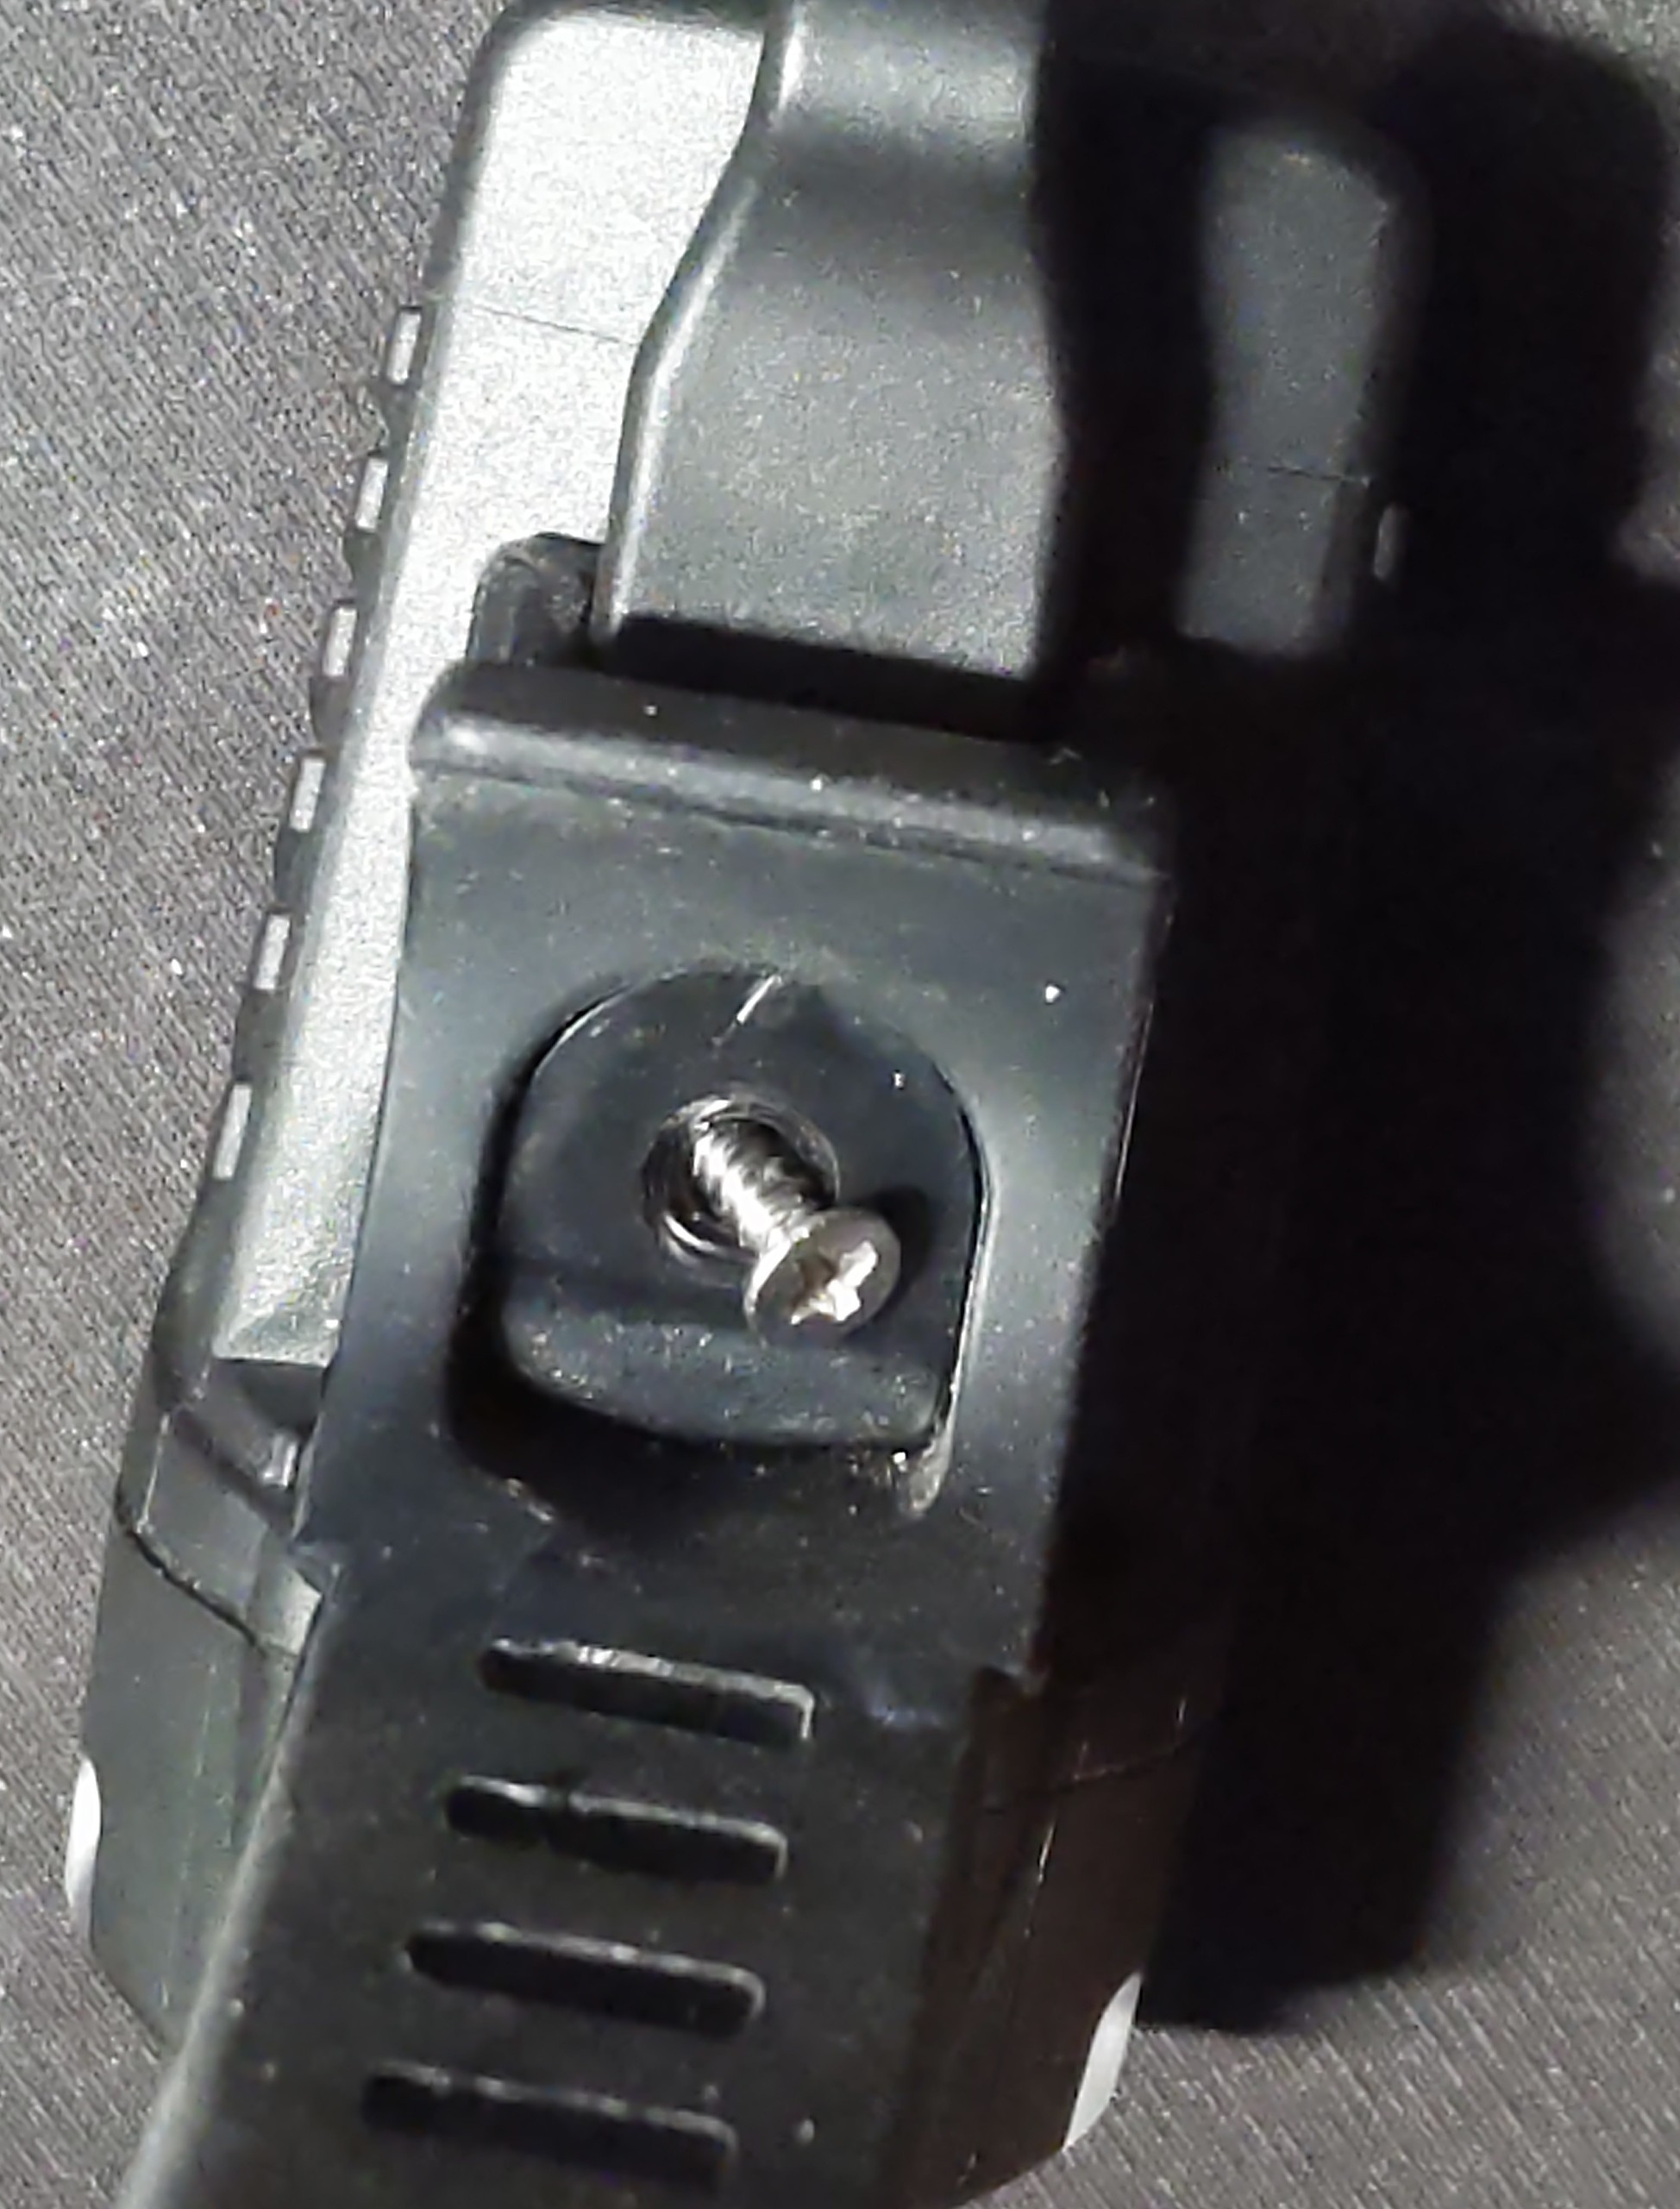
I started by removing the strap mount – a single Phillips head on the bottom:
Then I removed the 4 allen screws around the base of the head:
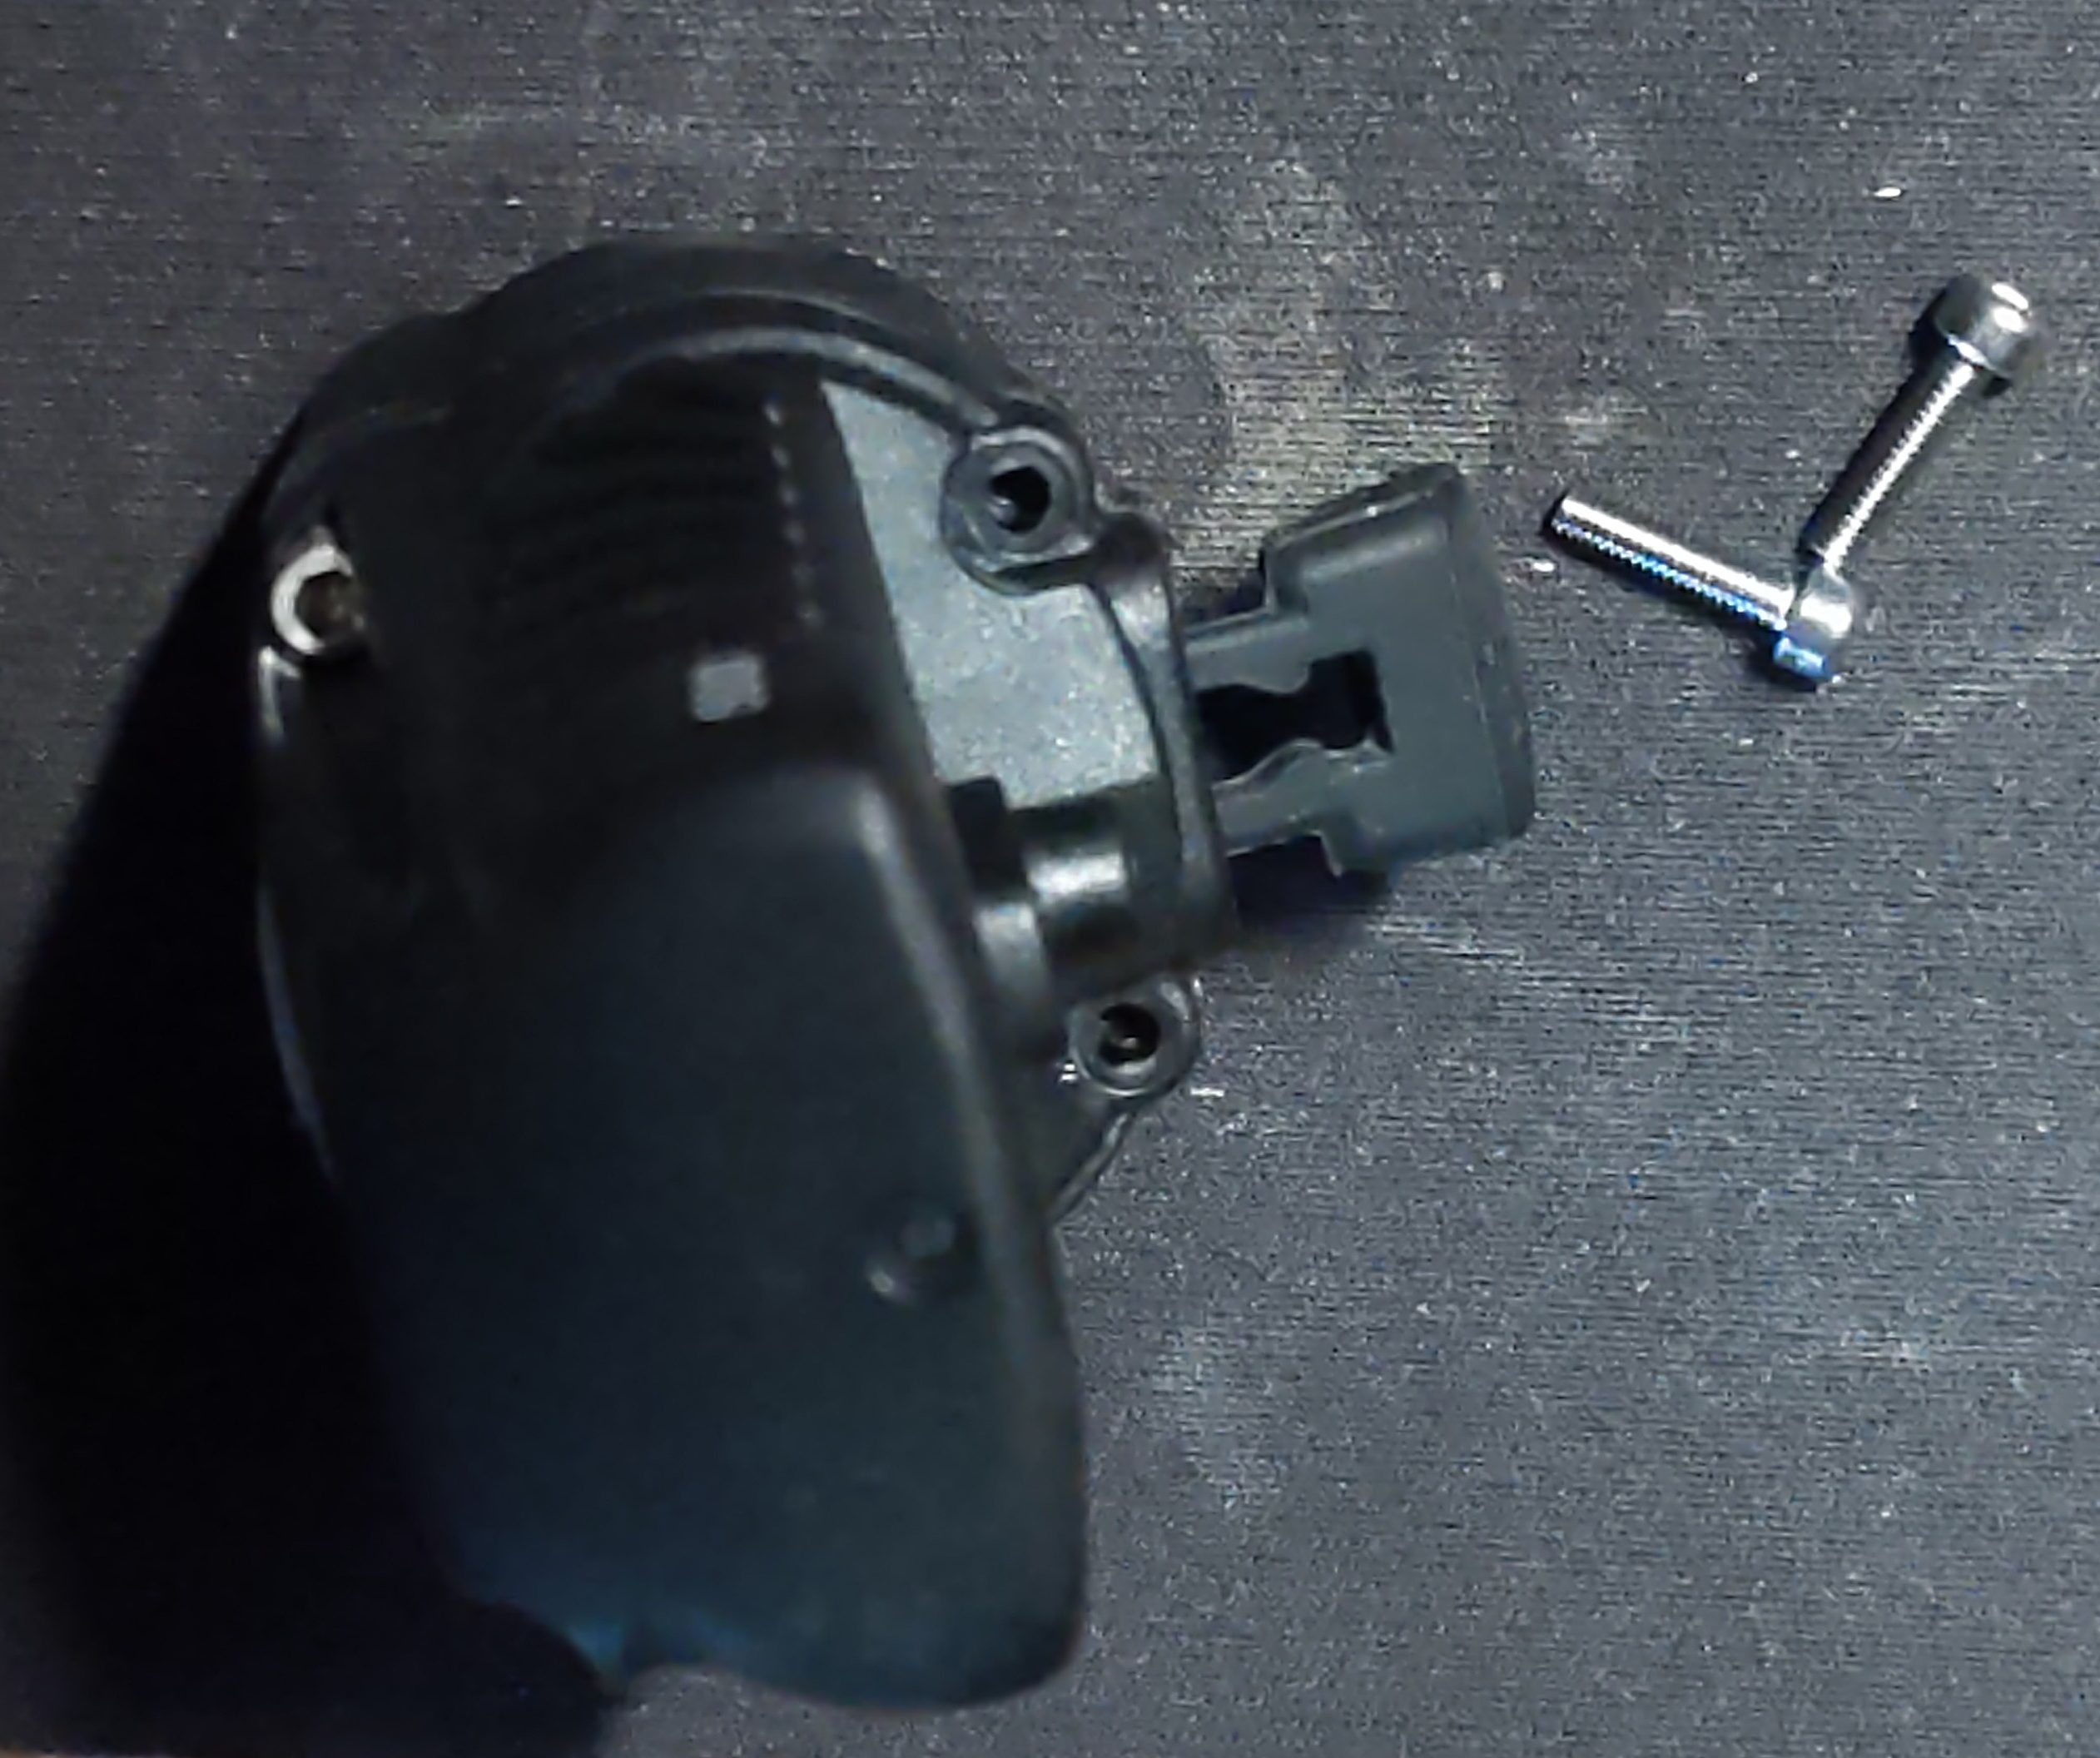
The lens assembly should come off – be careful as the rubber battery cover will fall free now. Be sure to keep track of all the parts!
Remove the two Philips head screws at the top of the LED plate:
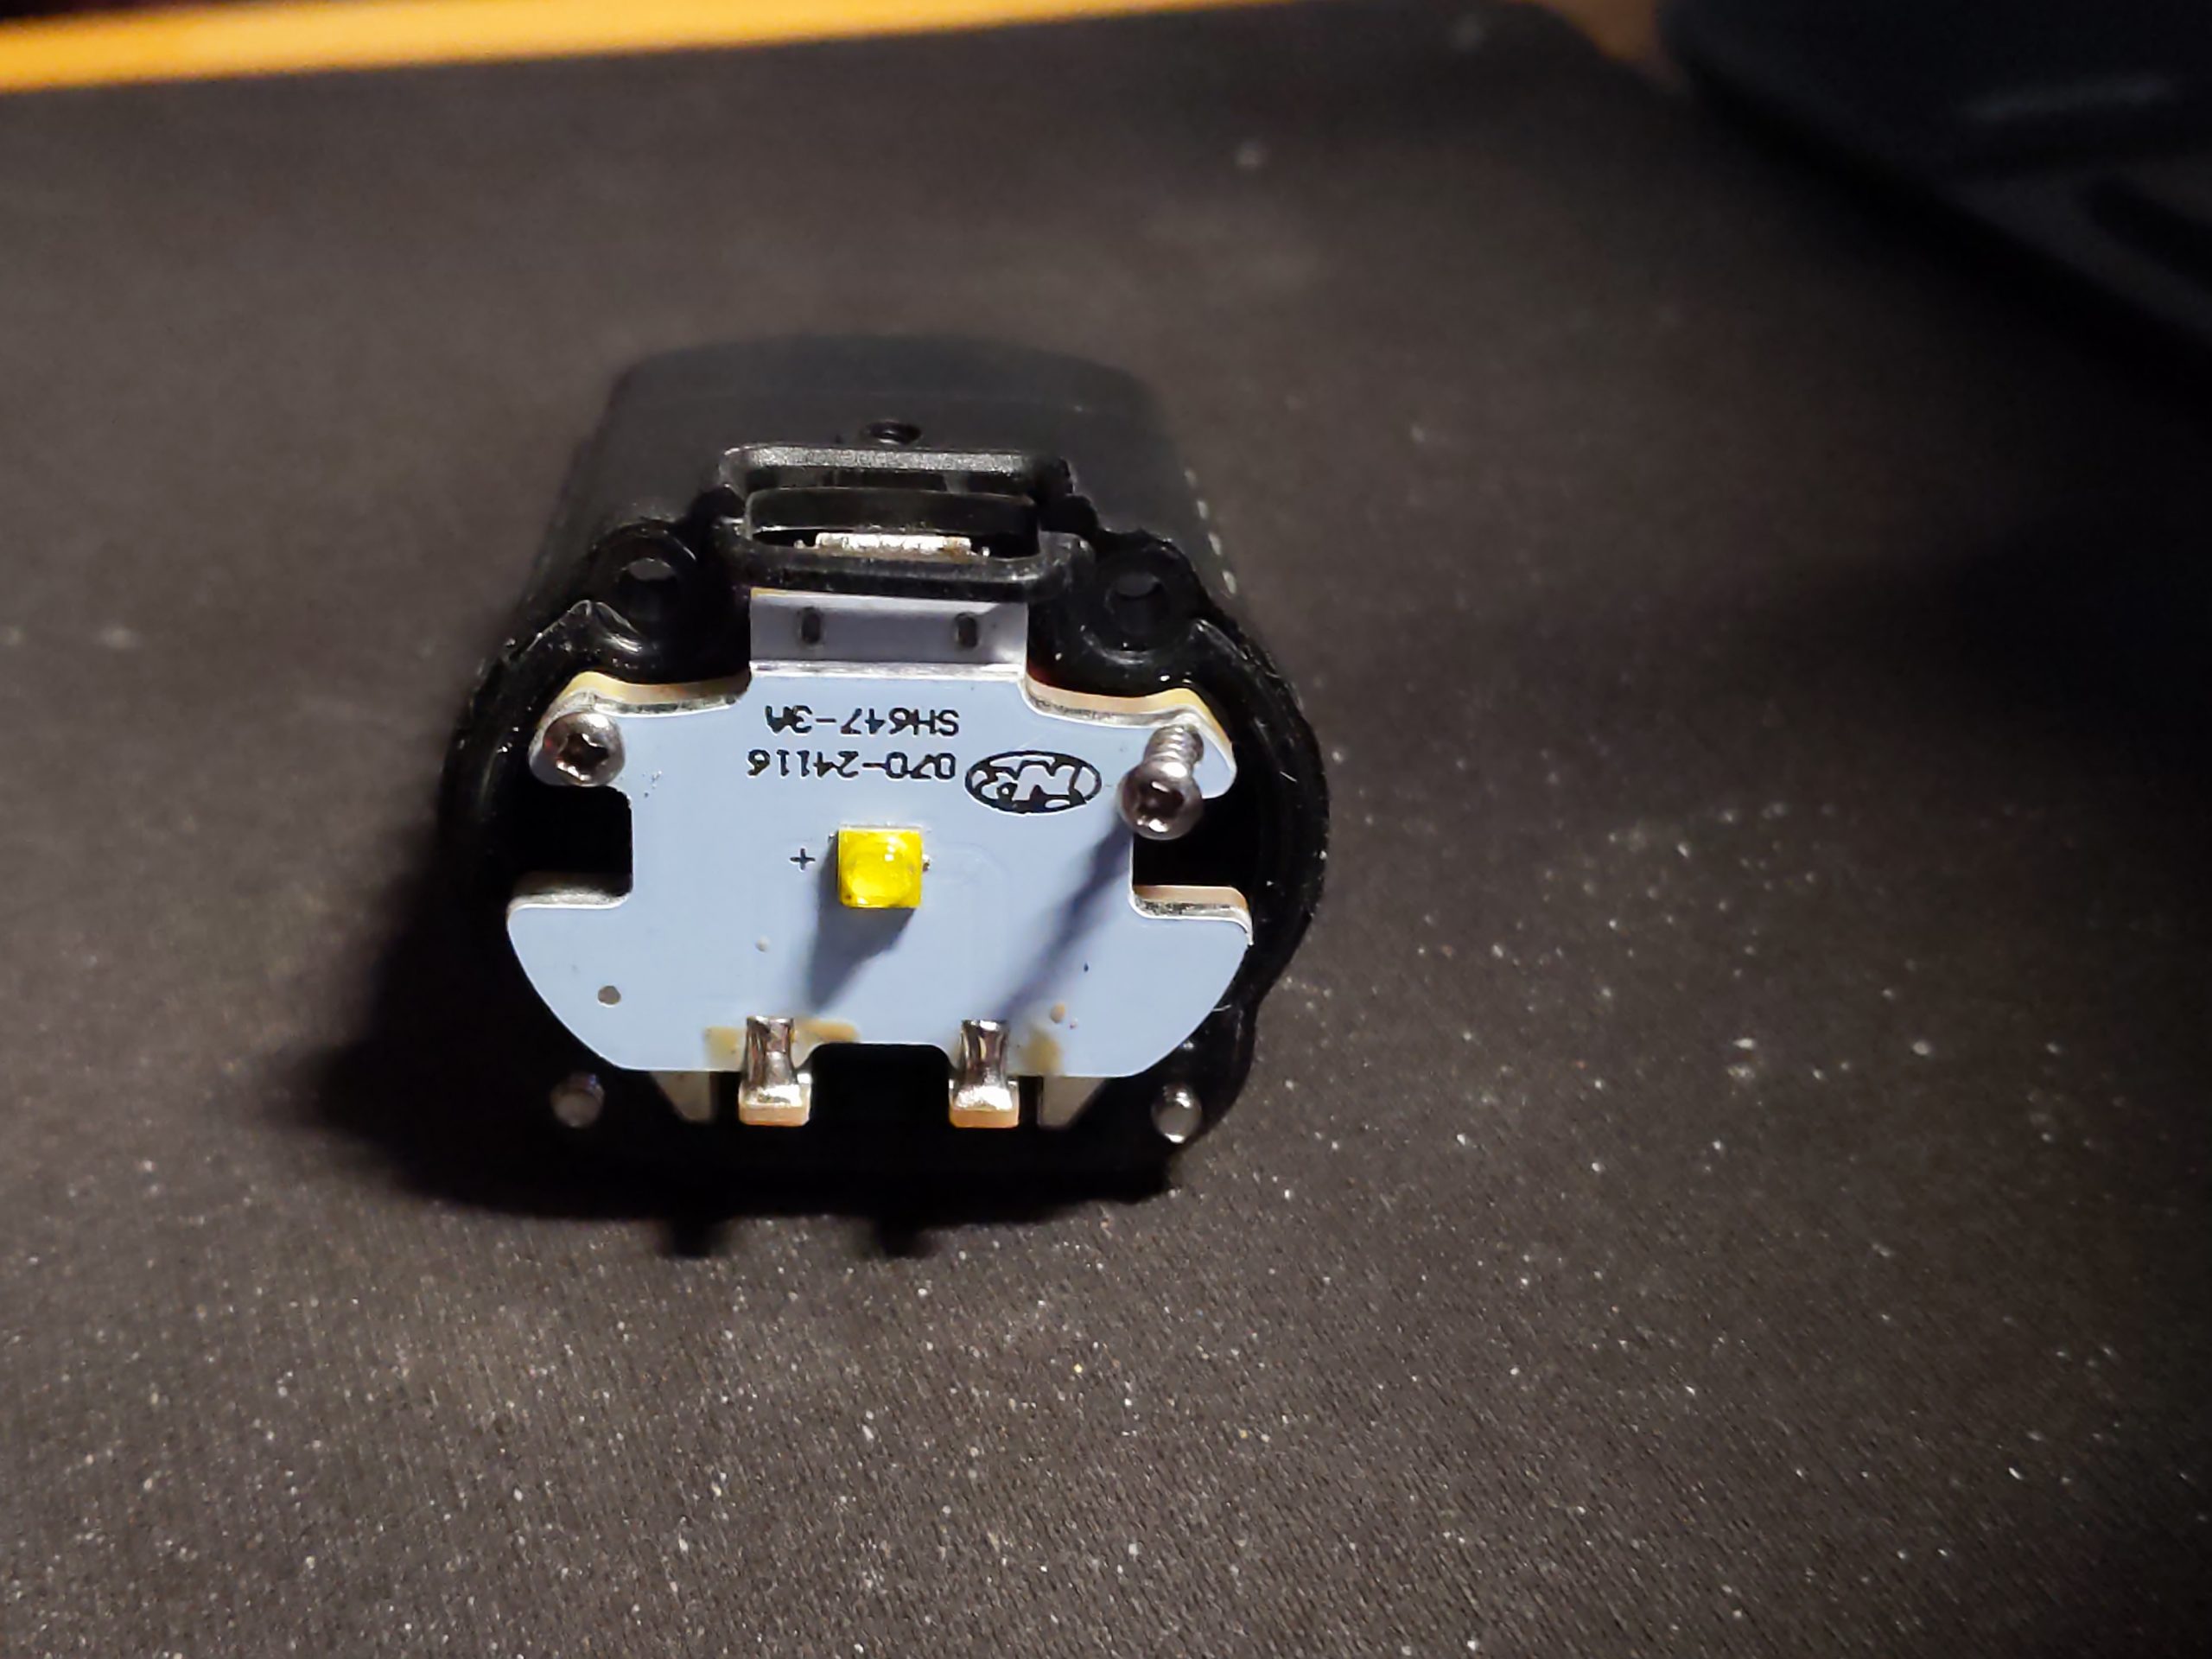
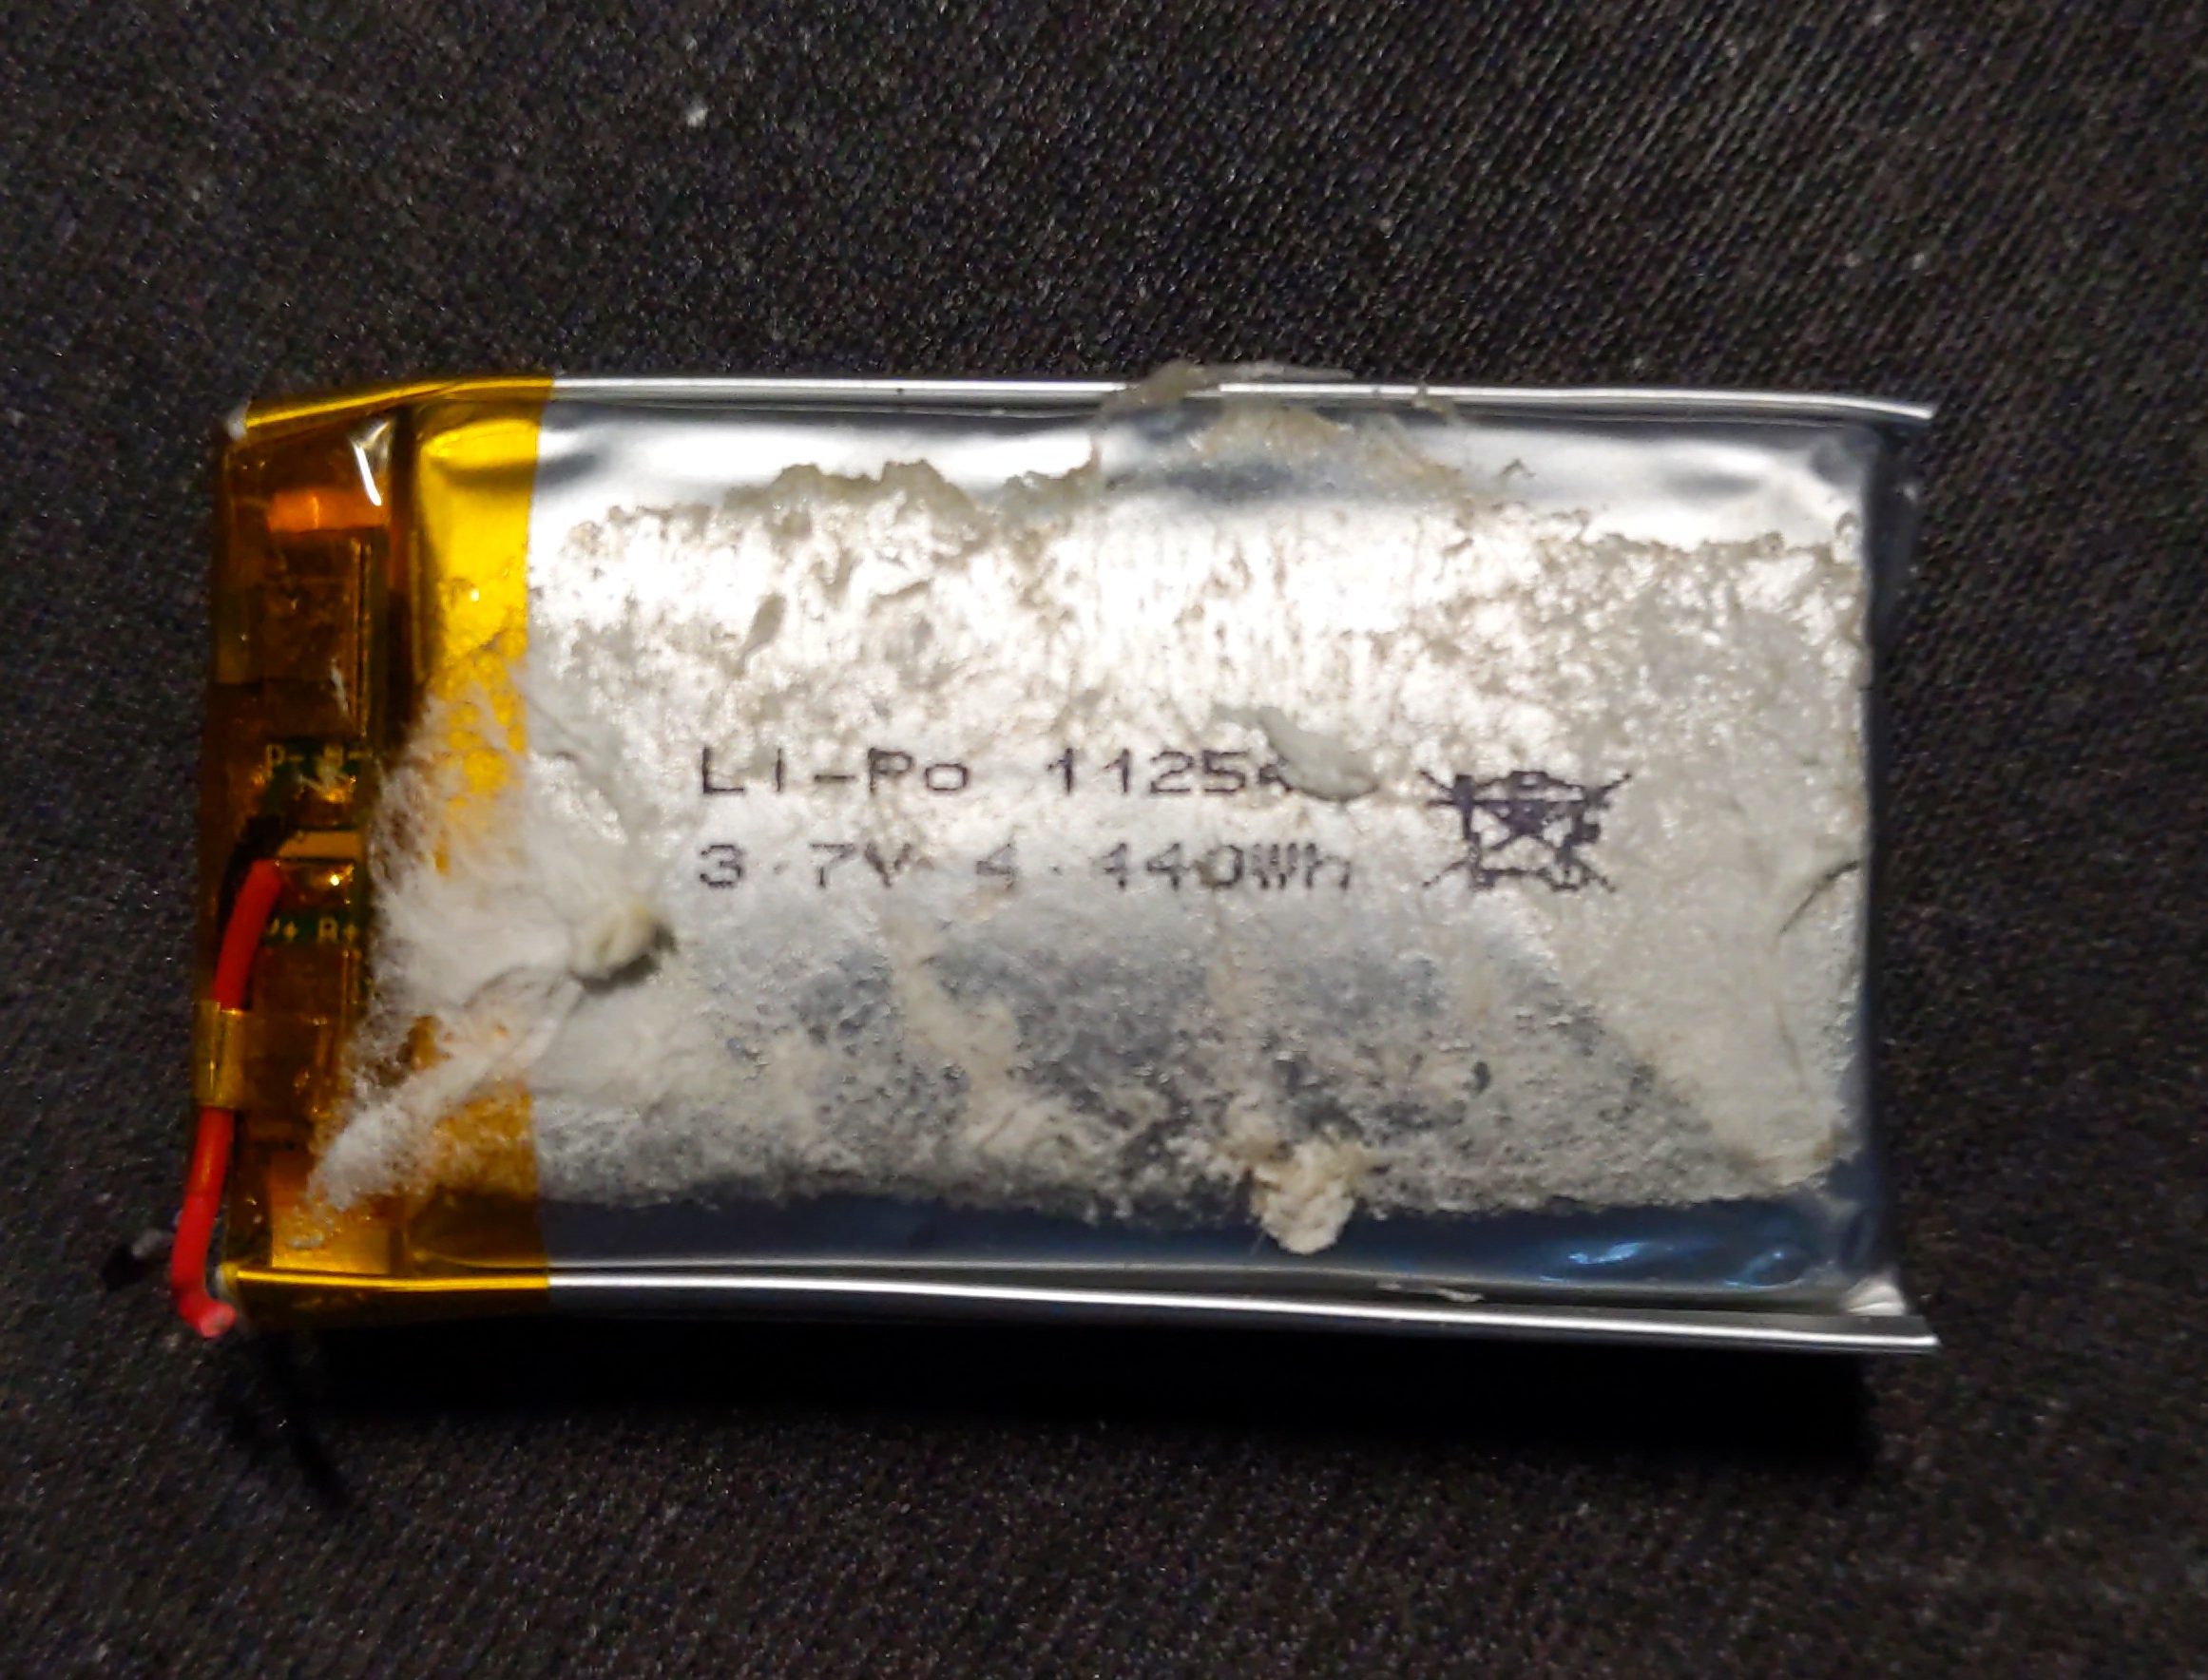
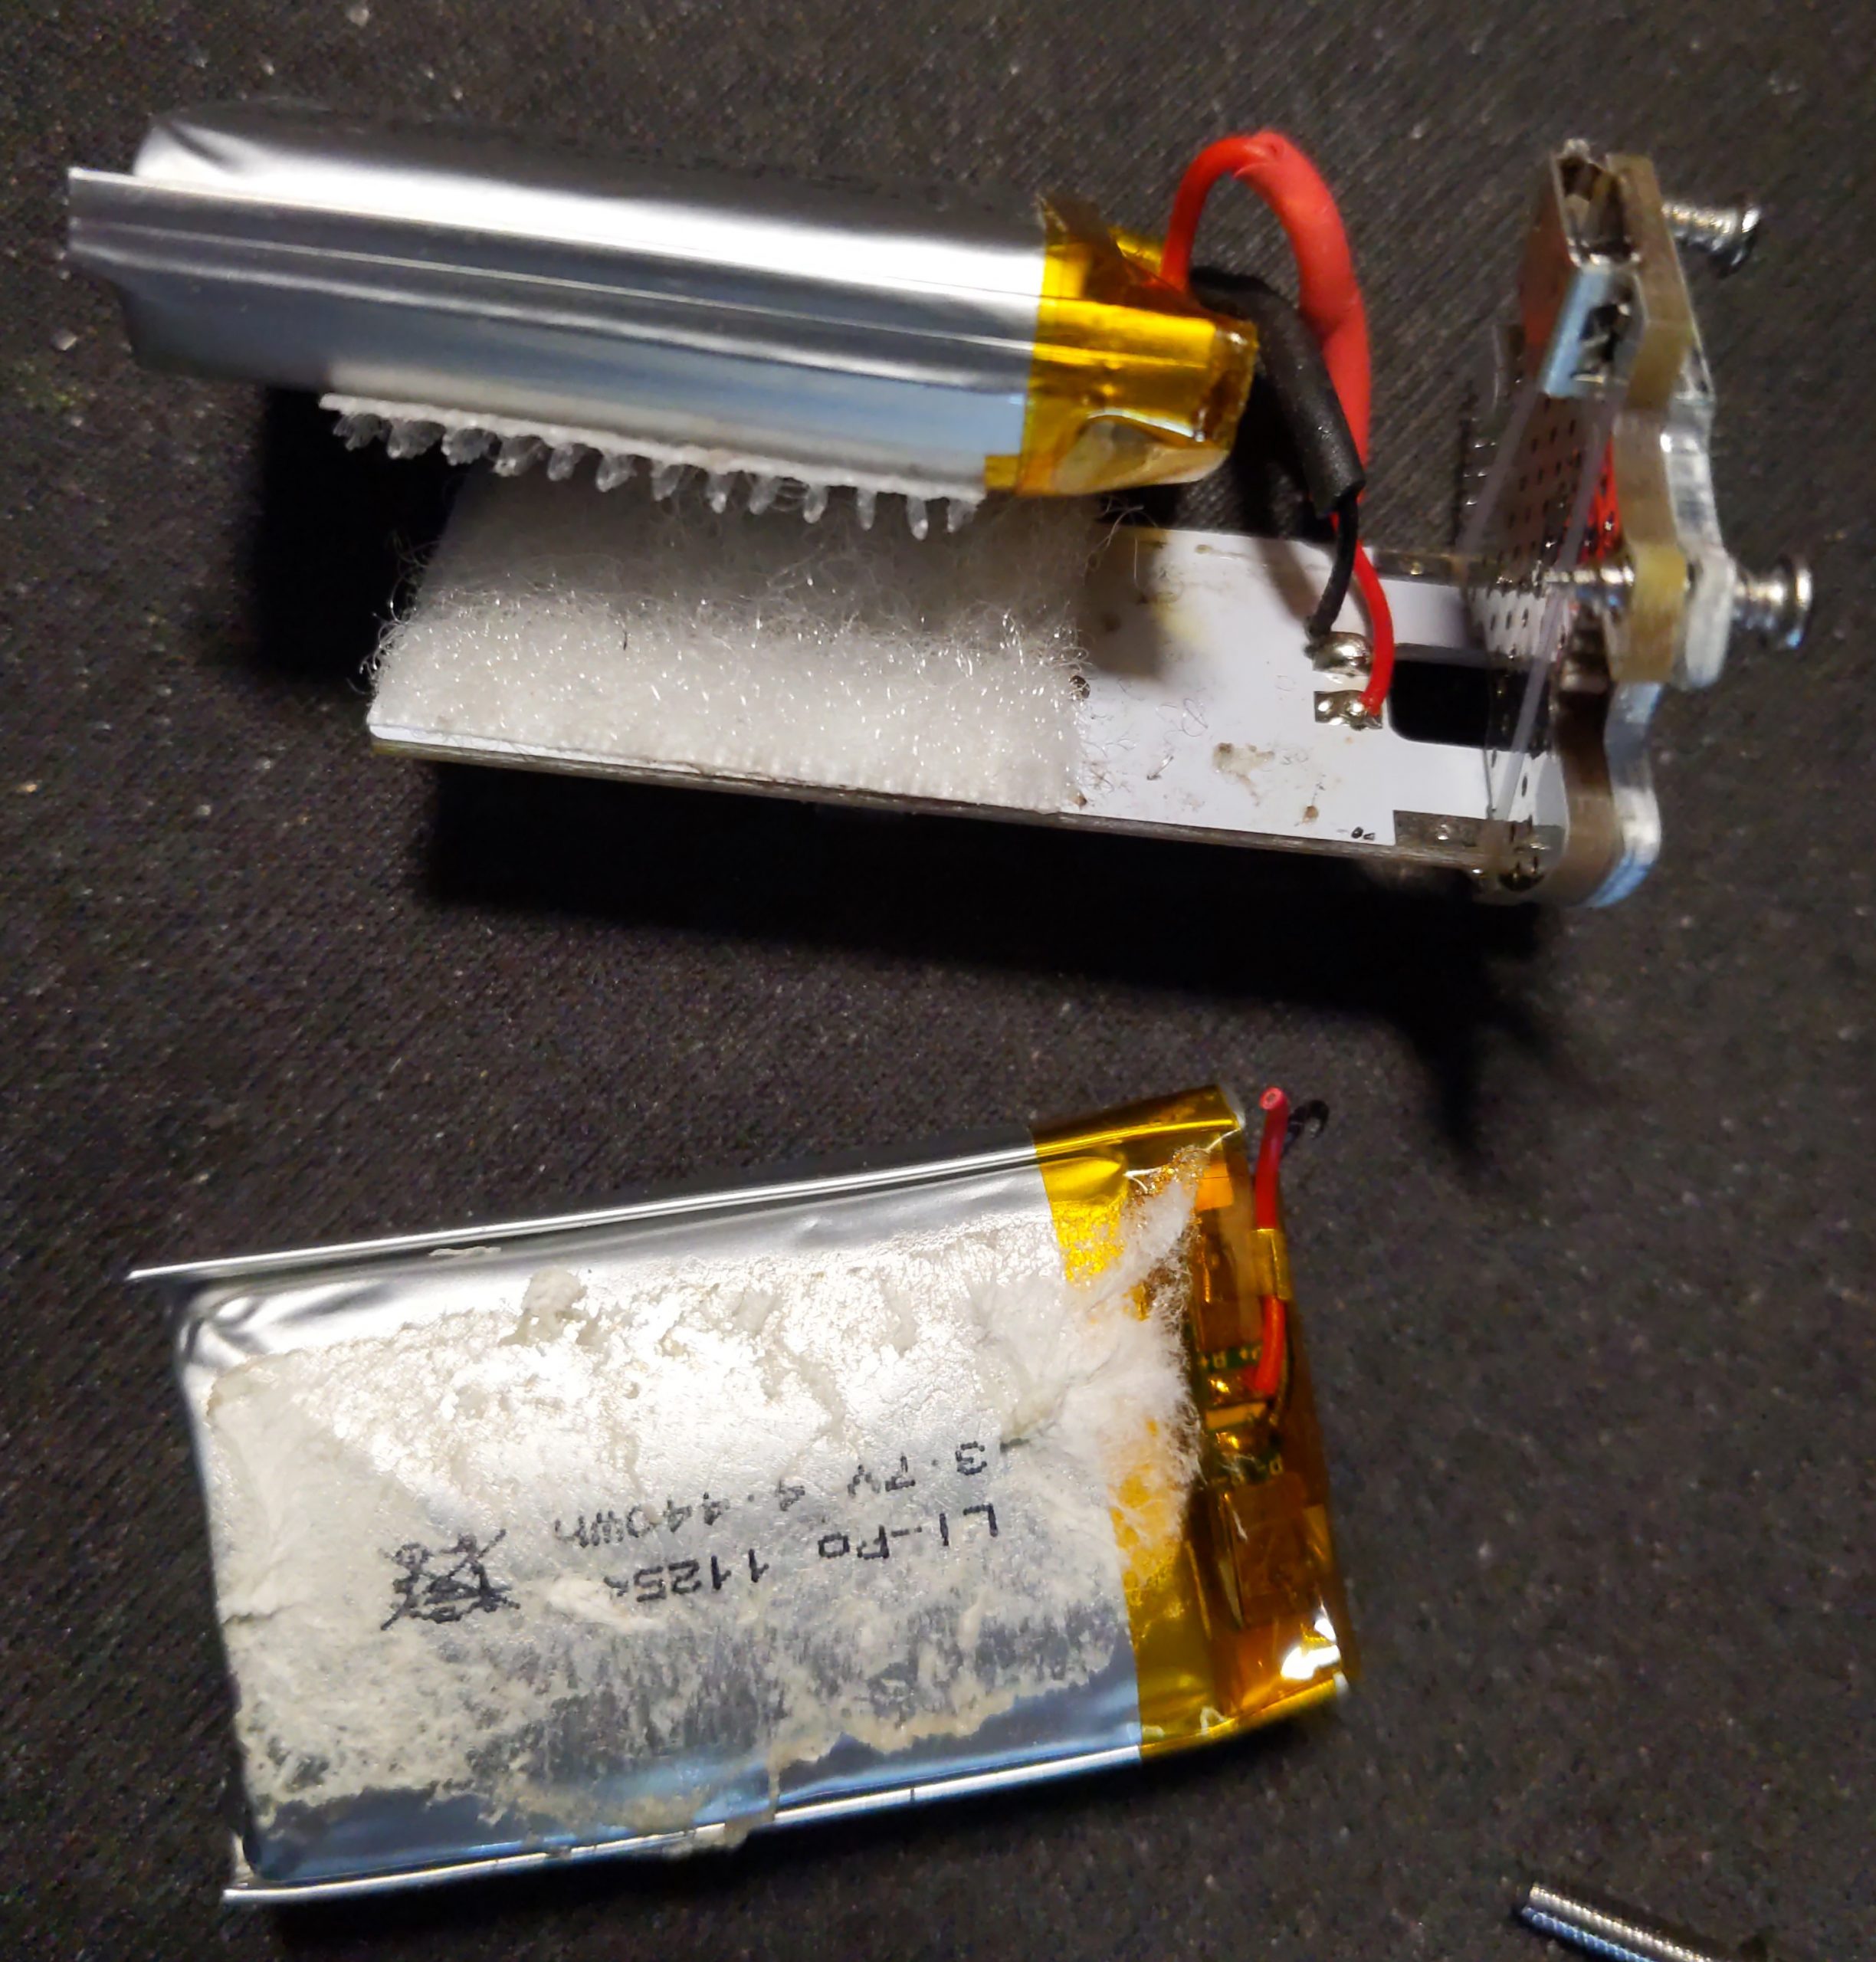
You should now be able to slide the LED plate out which is attached to the battery and the main circuit board. You’ll note the battery is both soldered on an aggressively affixed with double sided sticky tape. Peel the battery off, cut the two wires (one red, one black) half way between the battery and the circuit board. Rub the tape residue off enough so you can see the specs of the battery:
There’s no direct replacement part for this, but I found this “CaoDuRen Rechargeable 3.7V Li Lipo Lithium” on Amazon was close enough to work. Only $9 at the time – what a deal!
Cut the JST connector off of the new battery, cutting half way between the battery and connector. Solder the black to black and red to red wires, and seal up the solder connection. I used heat-shrink tubing and then affixed it with sticky Velcro:
Reassemble your light by following the steps above in reverse order. Careful when working with the light as it is quite bright and I had it accidentally turn on while assembling it – yikes!
Now enjoy your light and drop me a line if you have any other tips or succeed in replacing your battery!
A replacement 3.7v 103040 will fit and is available from 1200mAh
Also an 883048 from 1300mAh and
an 112945 1400mAh.
For information the numbers are identifying height, width and length (mm)
Oh – awesome – thanks for the extra info Lesoudeur!