4 minutes, 8 seconds
Skip to the install guide if you just want to know how to set up your Pi easily ;) Otherwise, read on for a little background.
Introduction

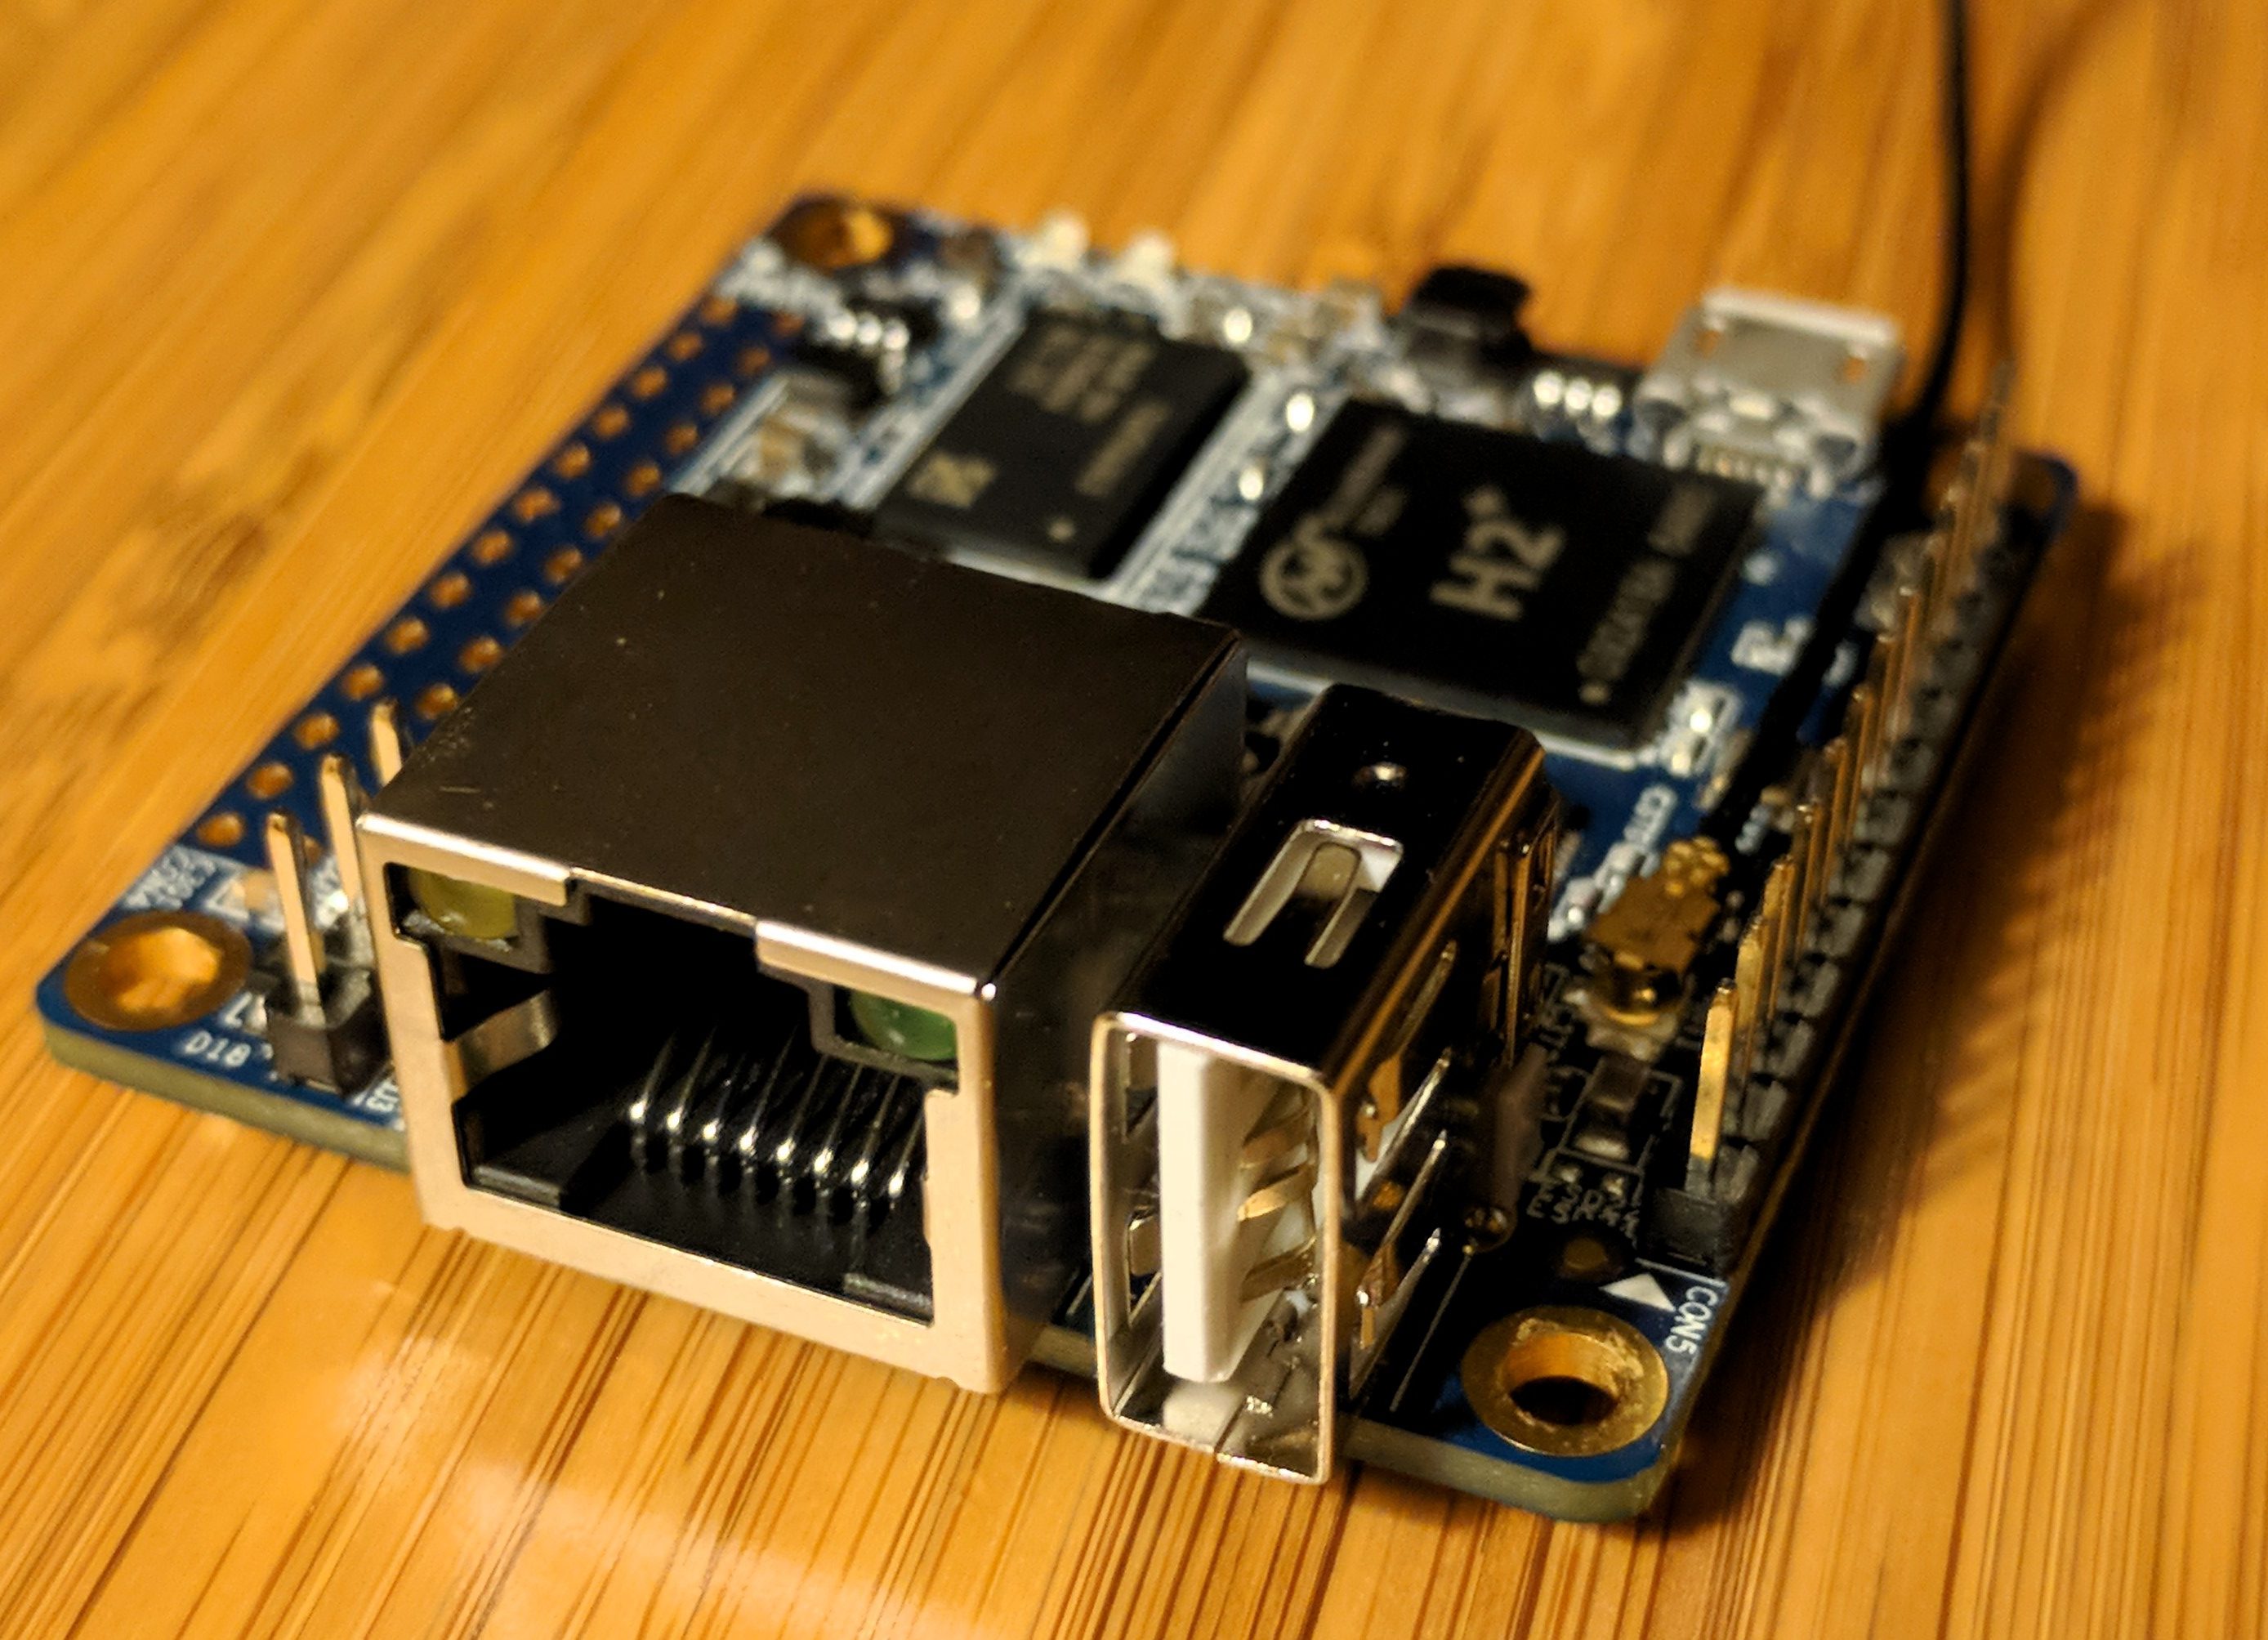
Orange Pi Zero 
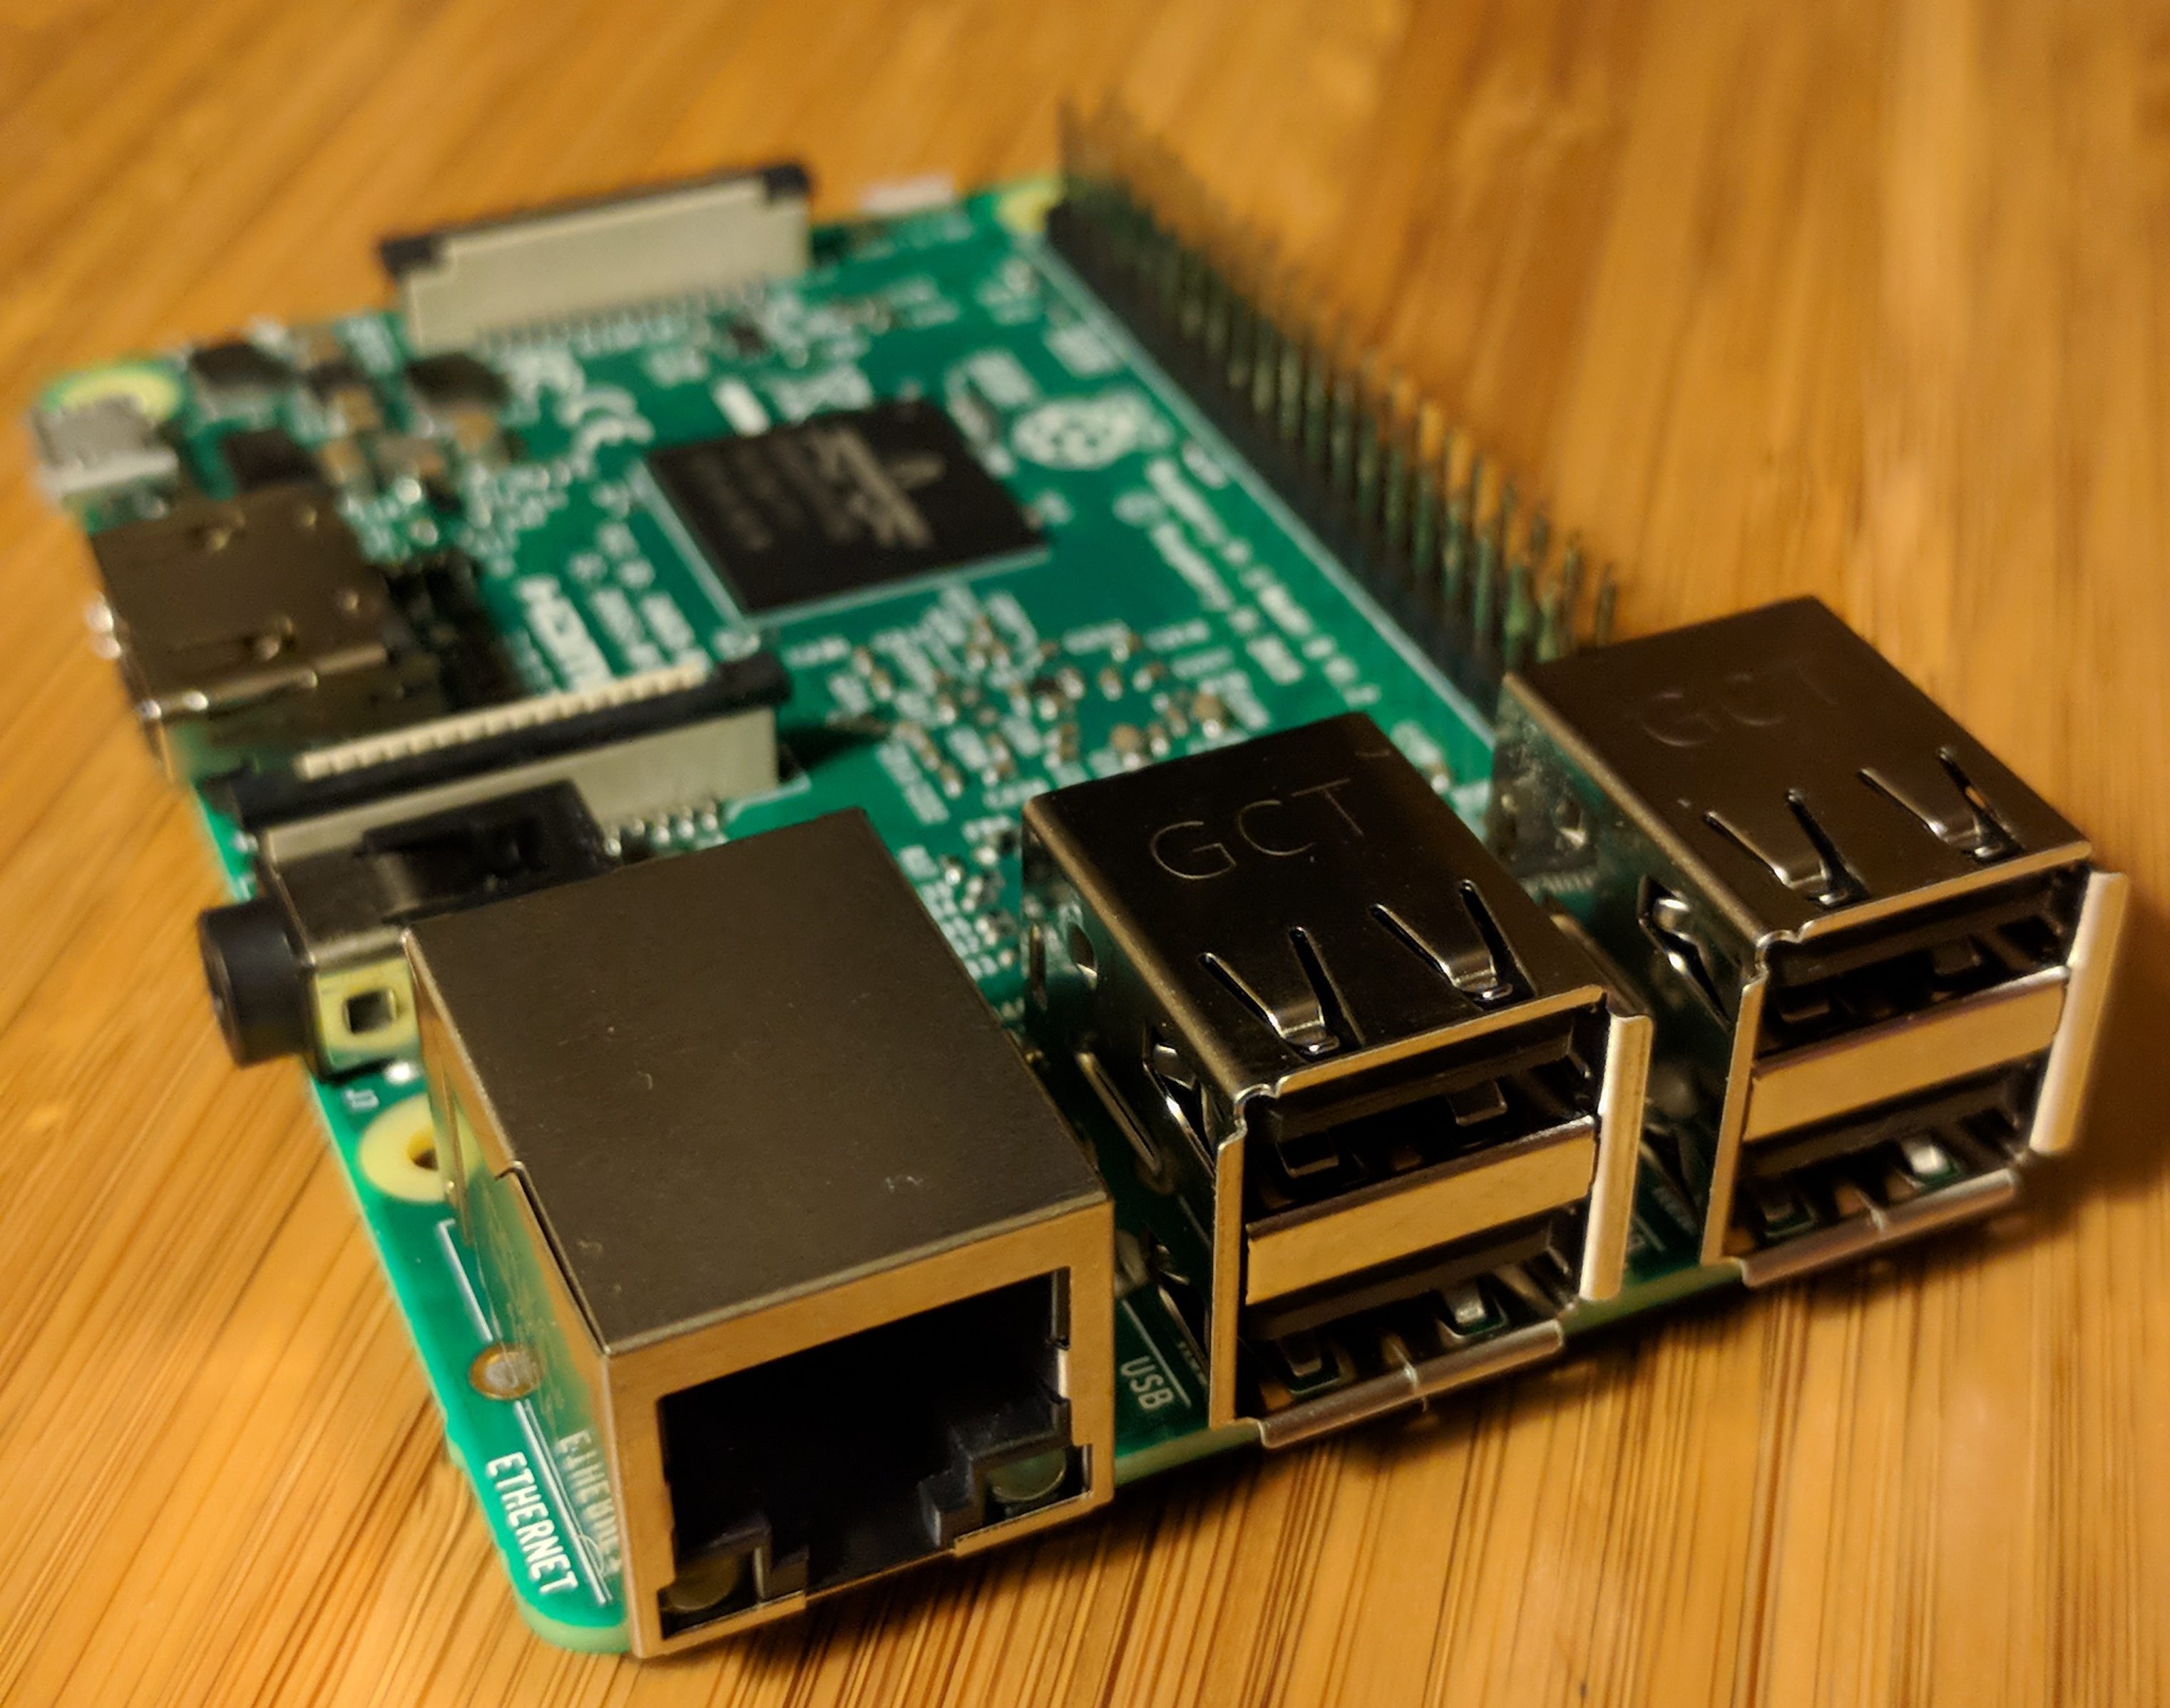
Raspberry Pi 3 B
I’ve been deep in DNS land of late. At work I’m working on DNS Stats and helping QA/release/document a packet capture tool for DNS stats. I even, just today, automated a complete Pi-Hole install to have a reliable dev environment for DNS stats. At the shop, I’ve set up the same encrypted DNS + Pi-Hole + LXD + Quad9 as I have at home. It’s all DNS all the time here is what I’m trying to say ;)
I’ve yet to find the magic sauce to compile Stubby on the Orange Pi Zero board though. It’s so cheap ($20 shipped), has a built in Ethernet, and is just so dang cute! So, I was looking around at stubby posts and Linux posts and Ubuntu posts and found this great write up on Ubuntu 18.04 and stubby and it said,
Stubby is in Ubuntu 18.04 repository
-linuxbabe.com
This was awesome! This means my previous trickery of having to compile stubby from source on Ubuntu wasn’t needed! However, the revelations about easy DNS set up and encryption were only just getting started.
The next one I found was that the 4.0 release of Pi-Hole from early August, had a new feature: custom ports can be used for upstream servers. Wham! This double awesome! Now, in the GUI of Pi-Hole, you could safely add a the IP of stubby and specify a random port to use! But we’re done yet, no sir, two more revelations to go. Hold on.
The penultimate revelation was BOTH the Orange Pi Zero AND the Raspberry Pi 3 b had a release of Ubuntu 18.04 for them. This means that you not only don’t have to compile stubby for your x86 LXD environment, but you don’t have to do it for ARM SoC setups either! Yay!
The final revelation dates back to a long, LONG time ago, and I’m just late to the party. I’m talking proto-internet long time ago. The legend Jon Postel decided that not only would IPv4 have a reserved IP address of 127.0.0.1 for localhost, but in RFC 790 in 1981, he said it would actually be a /8, so you get just over 16 million localhost IPs just for your bad ass self. This means you don’t actually need the new port specifying feature of Pi-Hole – you can just set up Stubby on port 53 on 127.1.1.1 and Pi-Hole on port 53 on 127.0.0.1. Ugh – this makes it so much easier – if I only was more a network guy!
Now that my rambling background on my recent revelations is done, let’s get to the technical write up. Though, honestly, this part will be pretty short and sweet.
Installation Guide
This guide assumes you’ve downloaded and installed Ubuntu 18.04 for either your Orange Pi Zero or Raspberry Pi 3 B. Note that both the official download page of both Orange Pi and Raspberry Pi Foundation, do not list 18.04 options. It also assumes you’re running everything as root. The instructions are identical for both boards:
- Ensure you’re up to date:
apt-get update&&apt-get upgrade - Install Stubby:
apt-get install stubby - Edit
/etc/stubby/stubby.ymlso that it’s listening on 127.1.1.1:listen_addresses:
- 127.1.1.1 - Restart Stubby:
systemctl restart stubby - Install Pi-Hole. Use what ever upstream DNS server you want when prompted, we’re going to override it with Stubby:
curl -sSL https://install.pi-hole.net | bash
IMPORTANT – See Troubleshooting below if you get stuck on “Time until retry:” or “DNS resolution is not available” when installing Pi-Hole
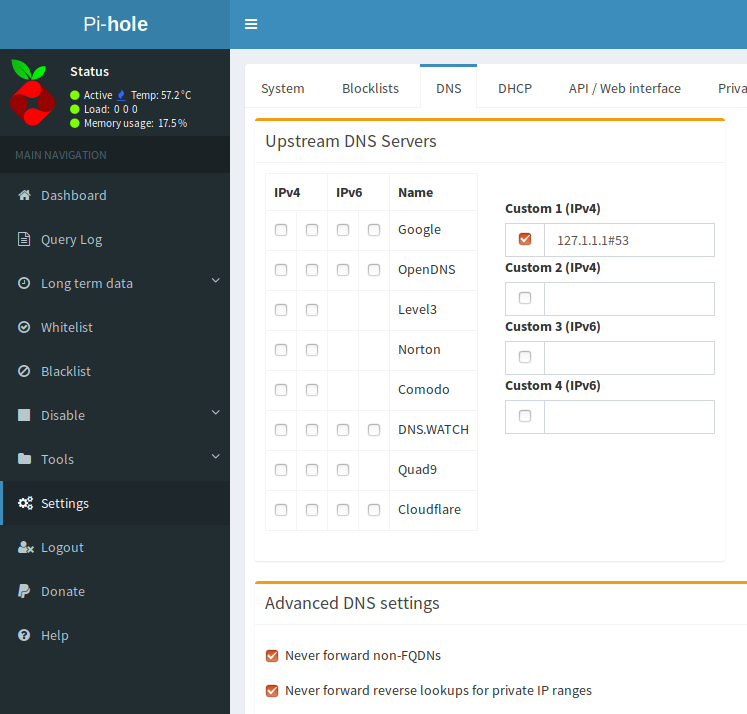
- Log into your new Pi-Hole at YOUR_PI_IP/admin and go to Settings -> DNS. Uncheck any DNS servers and enter a Custom 1 (IPv4) of 127.1.1.1:
Coming full circle, the Reddit thread I cited in my original write up, now has a comment that Ubuntu 18.04 has a Stubby package.
Quad9
If you want to use Quad9 (and I think you should ;), in step 3, while you’re in stubby.yml, comment out all the other servers in upstream_recursive_servers: and un-comment Quad9 so it looks like this::
upstream_recursive_servers:
  - address_data: 9.9.9.9
    tls_auth_name: "dns.quad9.net"
  - address_data: 2620:fe::fe
    tls_auth_name: "dns.quad9.net
Full disclosure, I work for PCH which sponsors Quad9.
Troubleshooting
A few things I found while researching this post that might help you:
- The login on the Raspberry Pi is
Ubuntuwith password isUbuntu. The login on the Orange Pi Zero isrootand password is1234. Check out my SSH Bootstrap trick as well. - The Orange Pi Zero didn’t get an IP via DHCP the first boot. A reboot solved that.
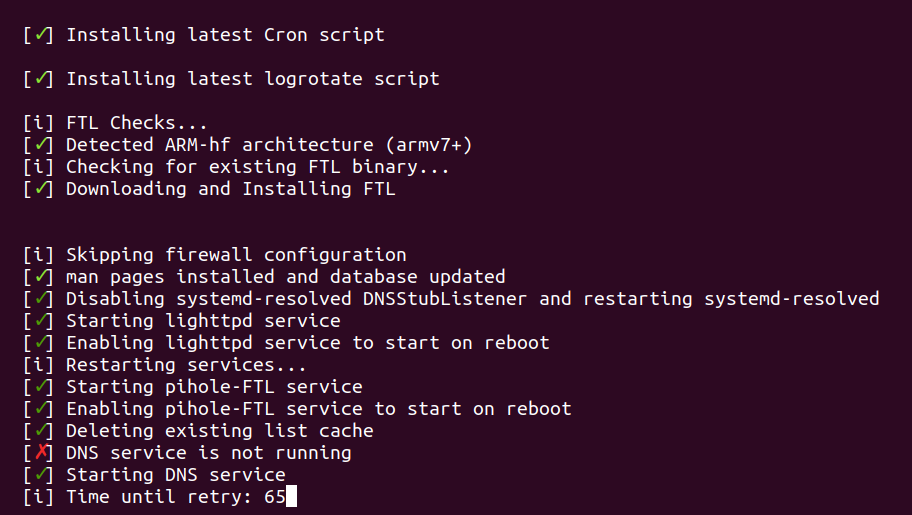
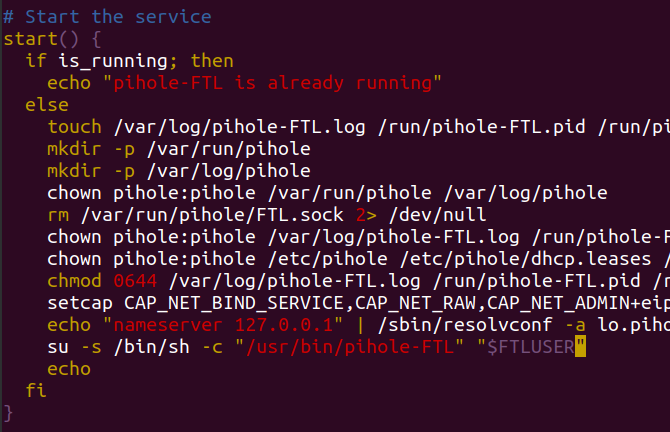
- The Pi-Hole script gave me a headache when installing. Near the end of the install it said, “Starting DNS service” and then was waiting to retry. I found a post on the Pi-Hole boards that solved it perfectly. To work around this, edit
/etc/init.d/pihole-FTLso that this line:su -s /bin/sh -c "/usr/bin/pihole-FTL" "$FTLUSER"
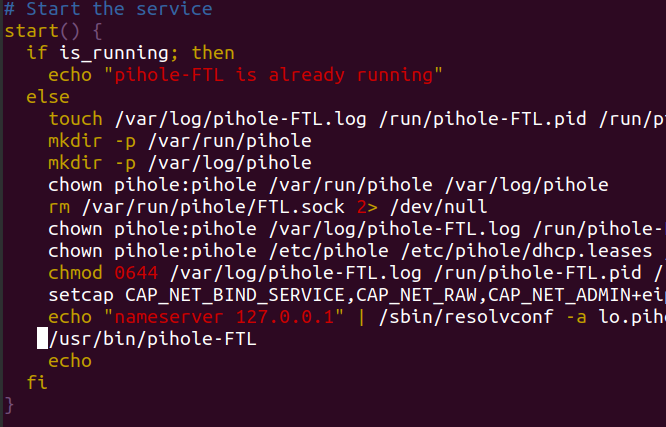
is replaced by this line:/usr/bin/pihole-FTL
Before 
After
After that, be sure to reload your init script with:systemctl daemon-reload
Finally you should be able to complete your install just by restarting Pi-Hole:systemctl restart pihole-FTL - Even though I followed step 4, during one my tests stubby was still blocking port 53 on 127.0.0.1. If that happens, restart stubby:
systemctl restart stubby - At any point you can test that stubby or pi-hole is working. These are good to intersperse with each install and configuration change:
dig @127.1.1.1 plip.com +short # stubby
dig @127.0.0.1plip.com+short # pi-hole