2 minutes, 40 seconds
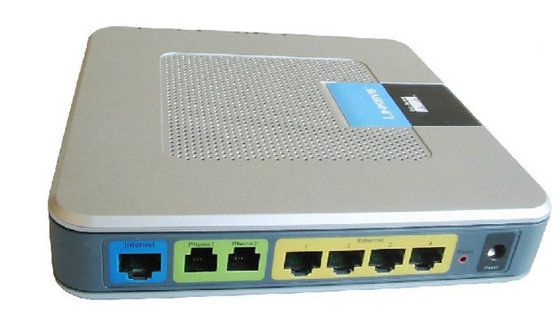
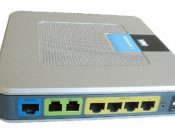
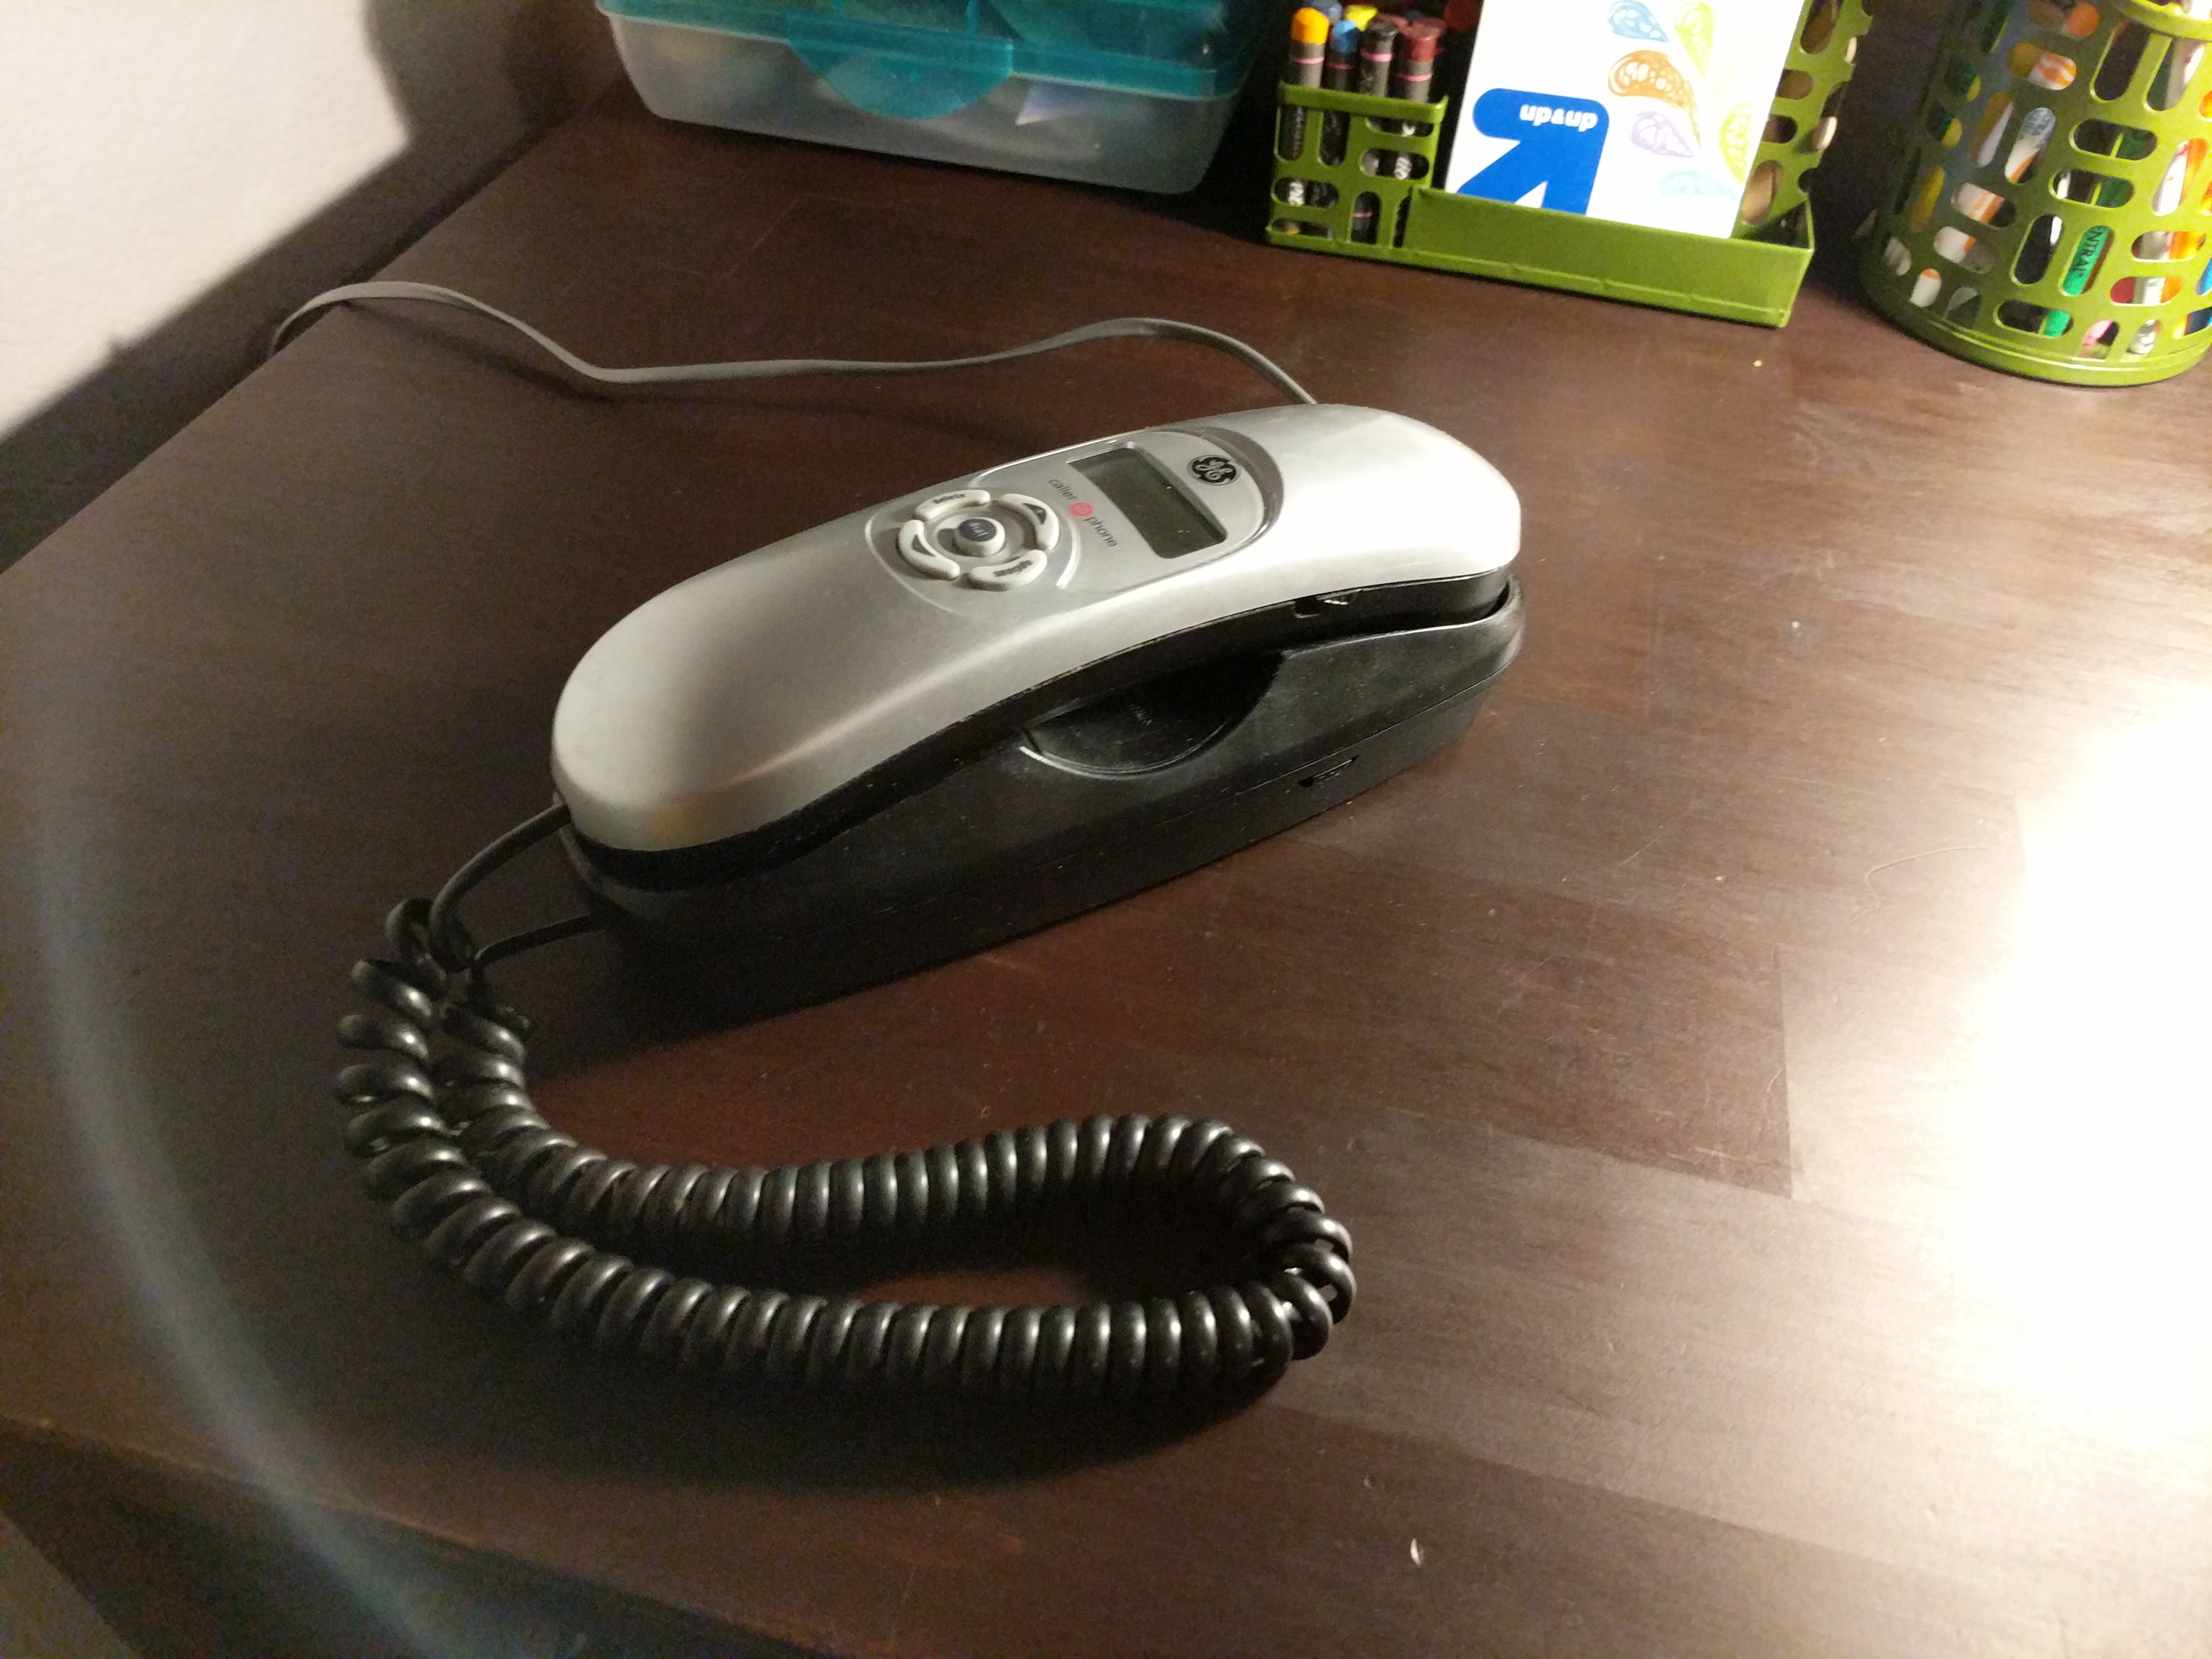
The other day the kids and I were at our local, awesome Goodwill store. I guess they’re all awesome, eh? I was looking over the pile of small electronics while the kids picked out a shirt (“any shirt you want!!”), and stumbled across a device with Ethernet jacks (RJ45) and phone jacks (RJ11). It’s a router with two ATA ports – cool! It was only $5 bucks!! A quick internet search suggests that it may be locked to a provider like Vonage, but that there’s lots of folks unlocking it. Given this was Goodwill, there were was a plethora of POTs devices handy – two more phones at just $5/ea – no problem!
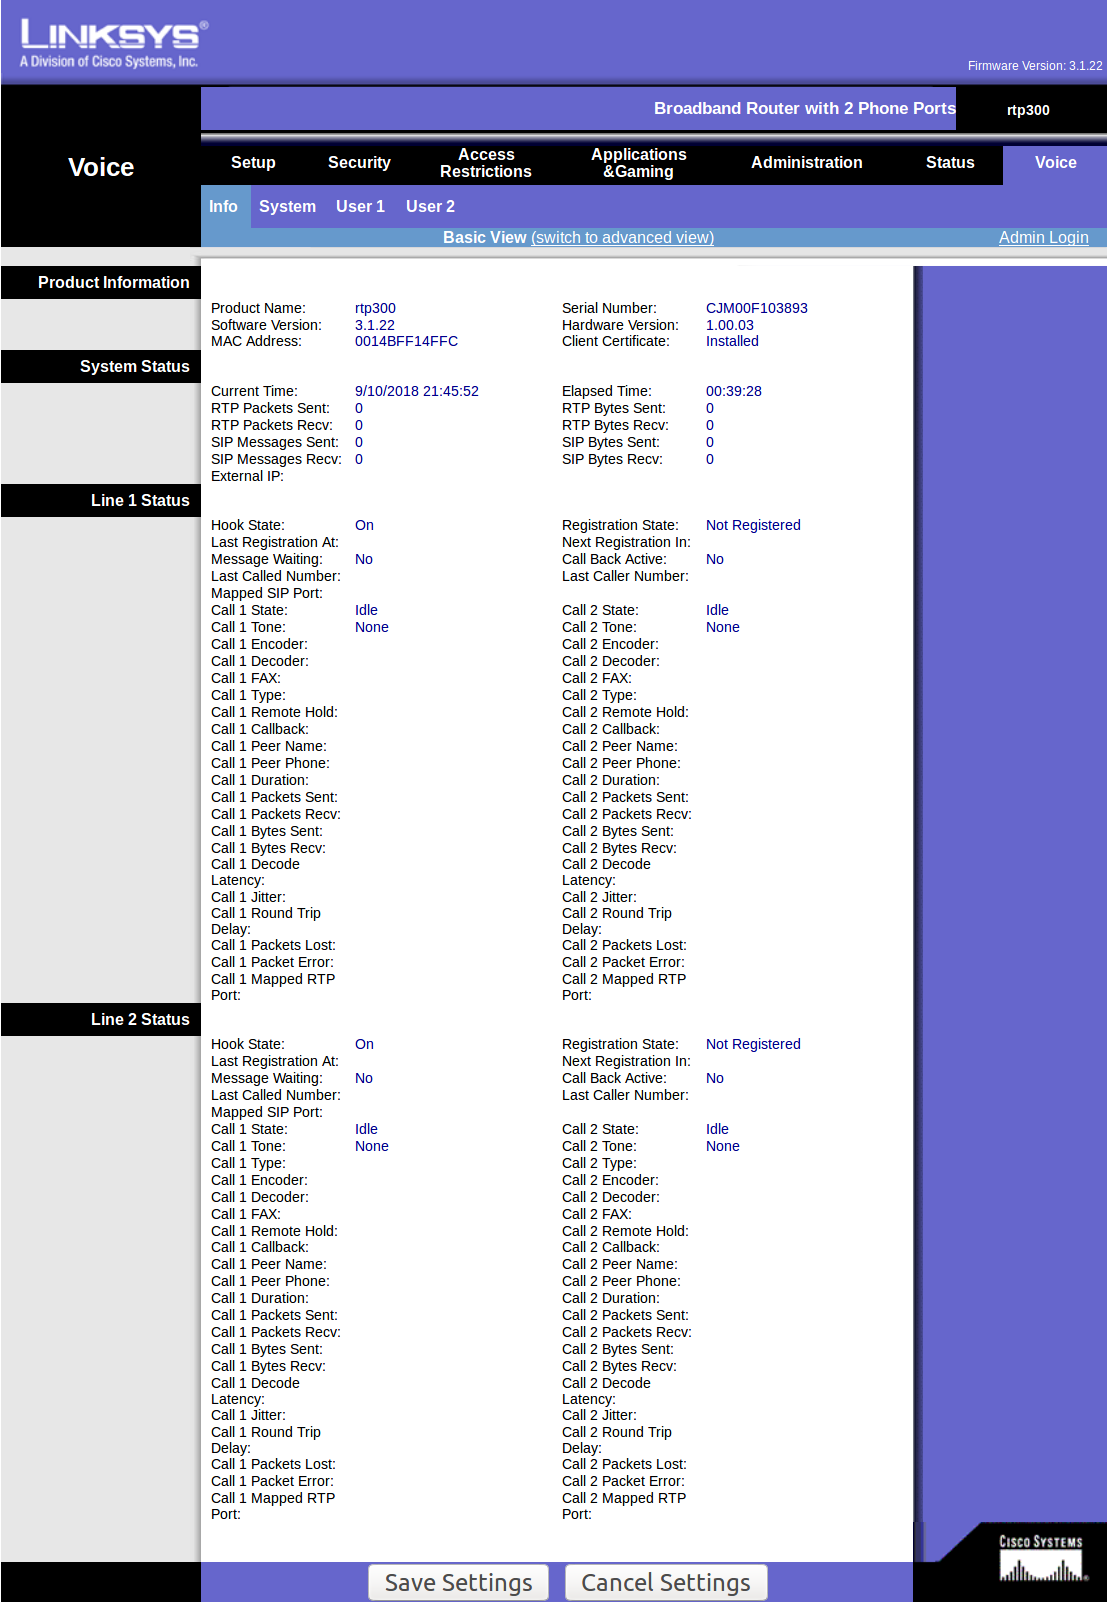
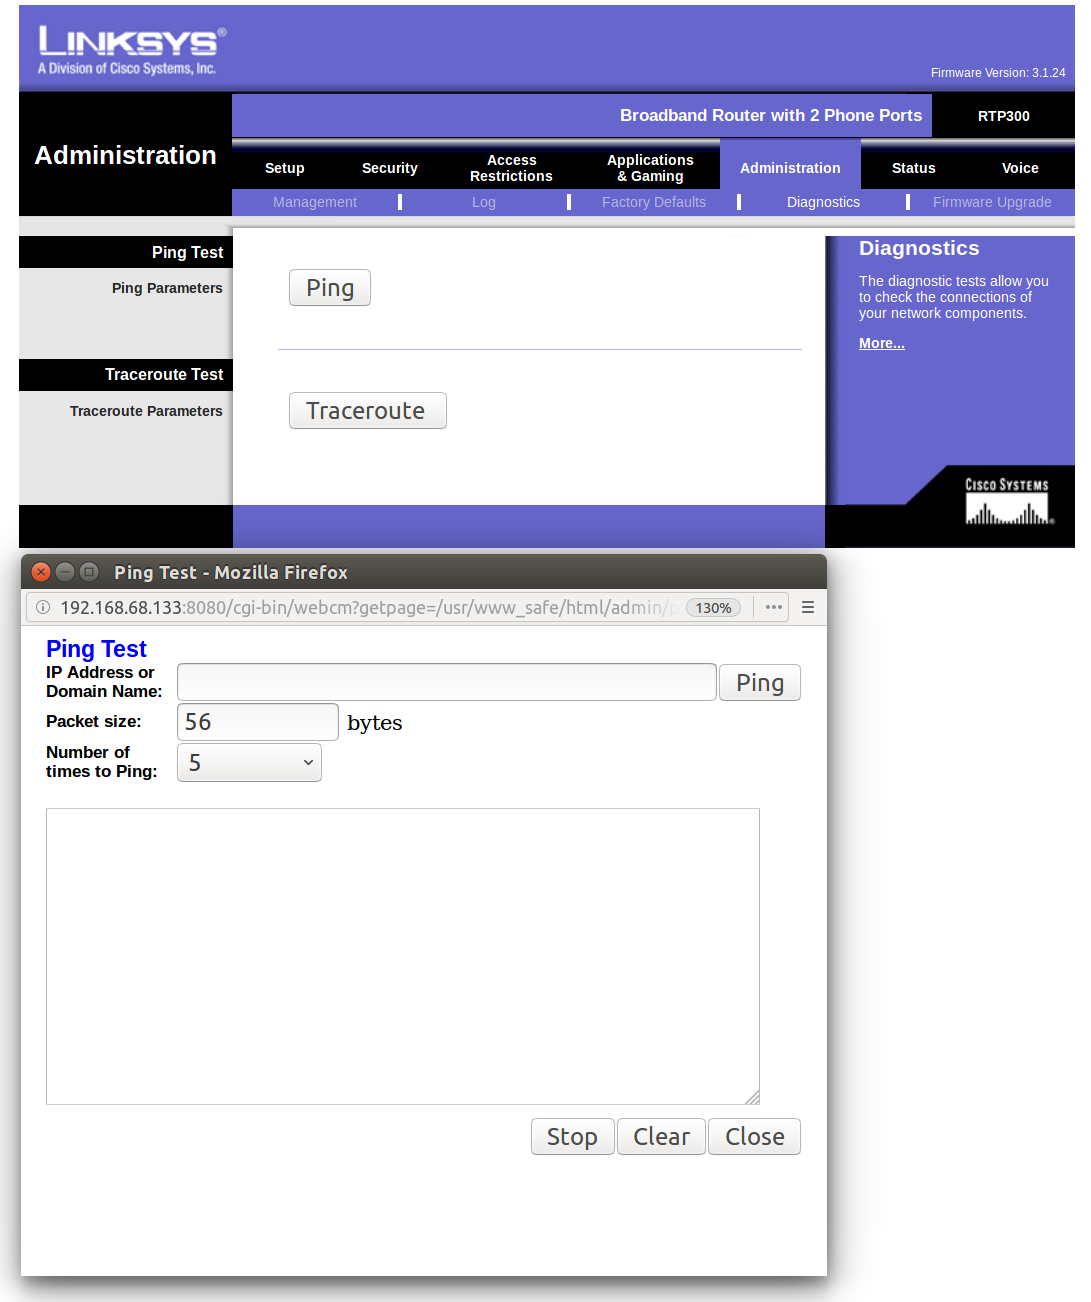
Now that I had the whole kit home, it was time to see what the ATA was up to. It’s a Linksys RTP300 – and the voice section was definitely locked down :( But that means it’s time to start hacking! I dug up the site I initially found before buying it – luckily all the downloads still work! The post is 8 years old, forever in ‘net time, so I was impressed.
I’m pretty pleased with myself because I fully understood everything and was able to improve the process because of this. Mainly:
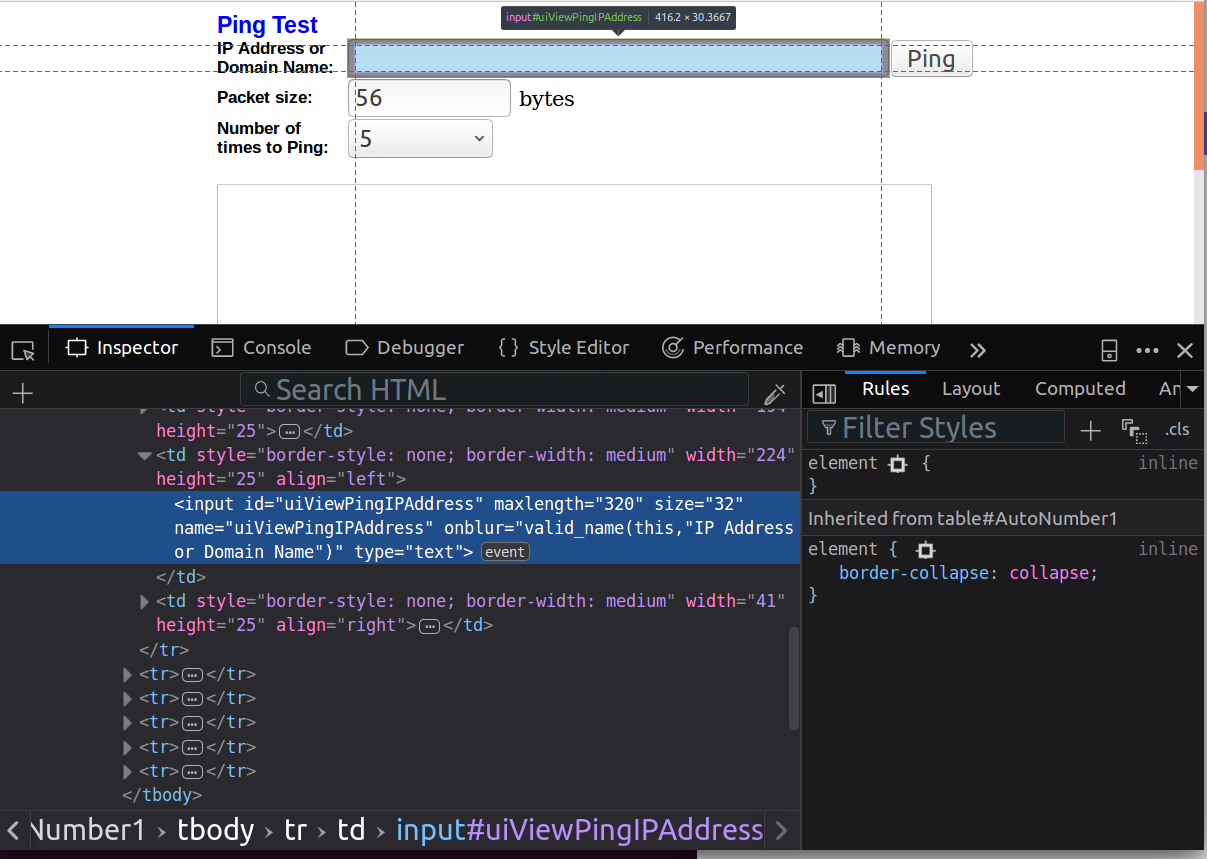
- Being a web developer I already had a web server running. This is much easier to use instead of setting up a new TFTP server as they suggested.
- Being a web developer (still) I was kinda in awe that I’d already forgotten how amazeballs Firebug was, and how I take for granted that modern browsers have such good developer tools built in.
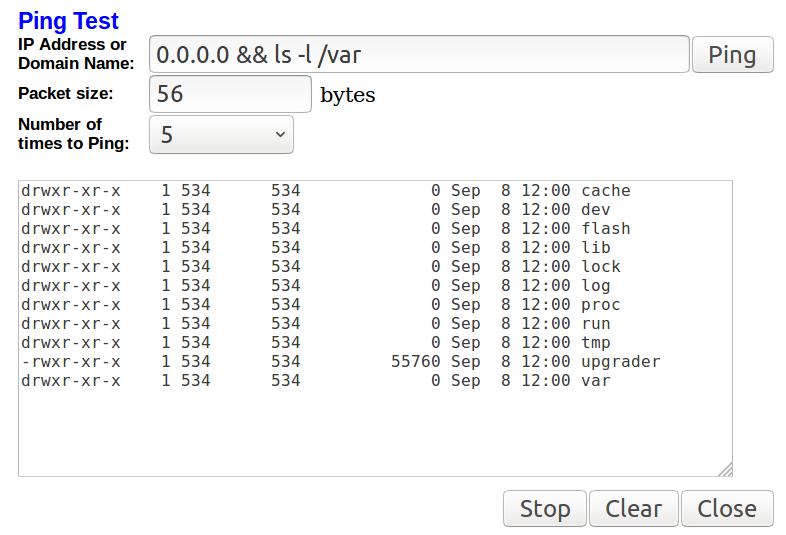
- Knowing all the linux commands used (wget, chmod, cd & dd) I was able to explore the device a bit
- I figured out that the guide wanted you to download into
/var/tmpwhich didn’t exist on my device, but/varworked - They have you download some *.img, but running it through
stringsand checking the size, it appeared to match the 3.1.24 version. Completing the install confirmed this. However, md5sum outputs don’t match.
After all this I had a generic, if not quite dated, ATA that was ready to talk to a VoIP provider. Time to install Asterisk! This is where LXD comes in. I already had my home server running Stubby and Pi Hole – time to add another. After spinning up an Ubuntu 16.04 box, hitting a snag, then spinning up an 18.04 box, a quick apt-get install asterisk and I was ready to go!
I created 4 extensions, one for each of us, by following some simple guides I’d found (edit /etc/asterisk/sip.conf, /etc/asterisk/extensions.conf and a reload). I plunked in the LXD Asterisk IP, extension and password and BAM! both lines registered easy peasy on the ATA.
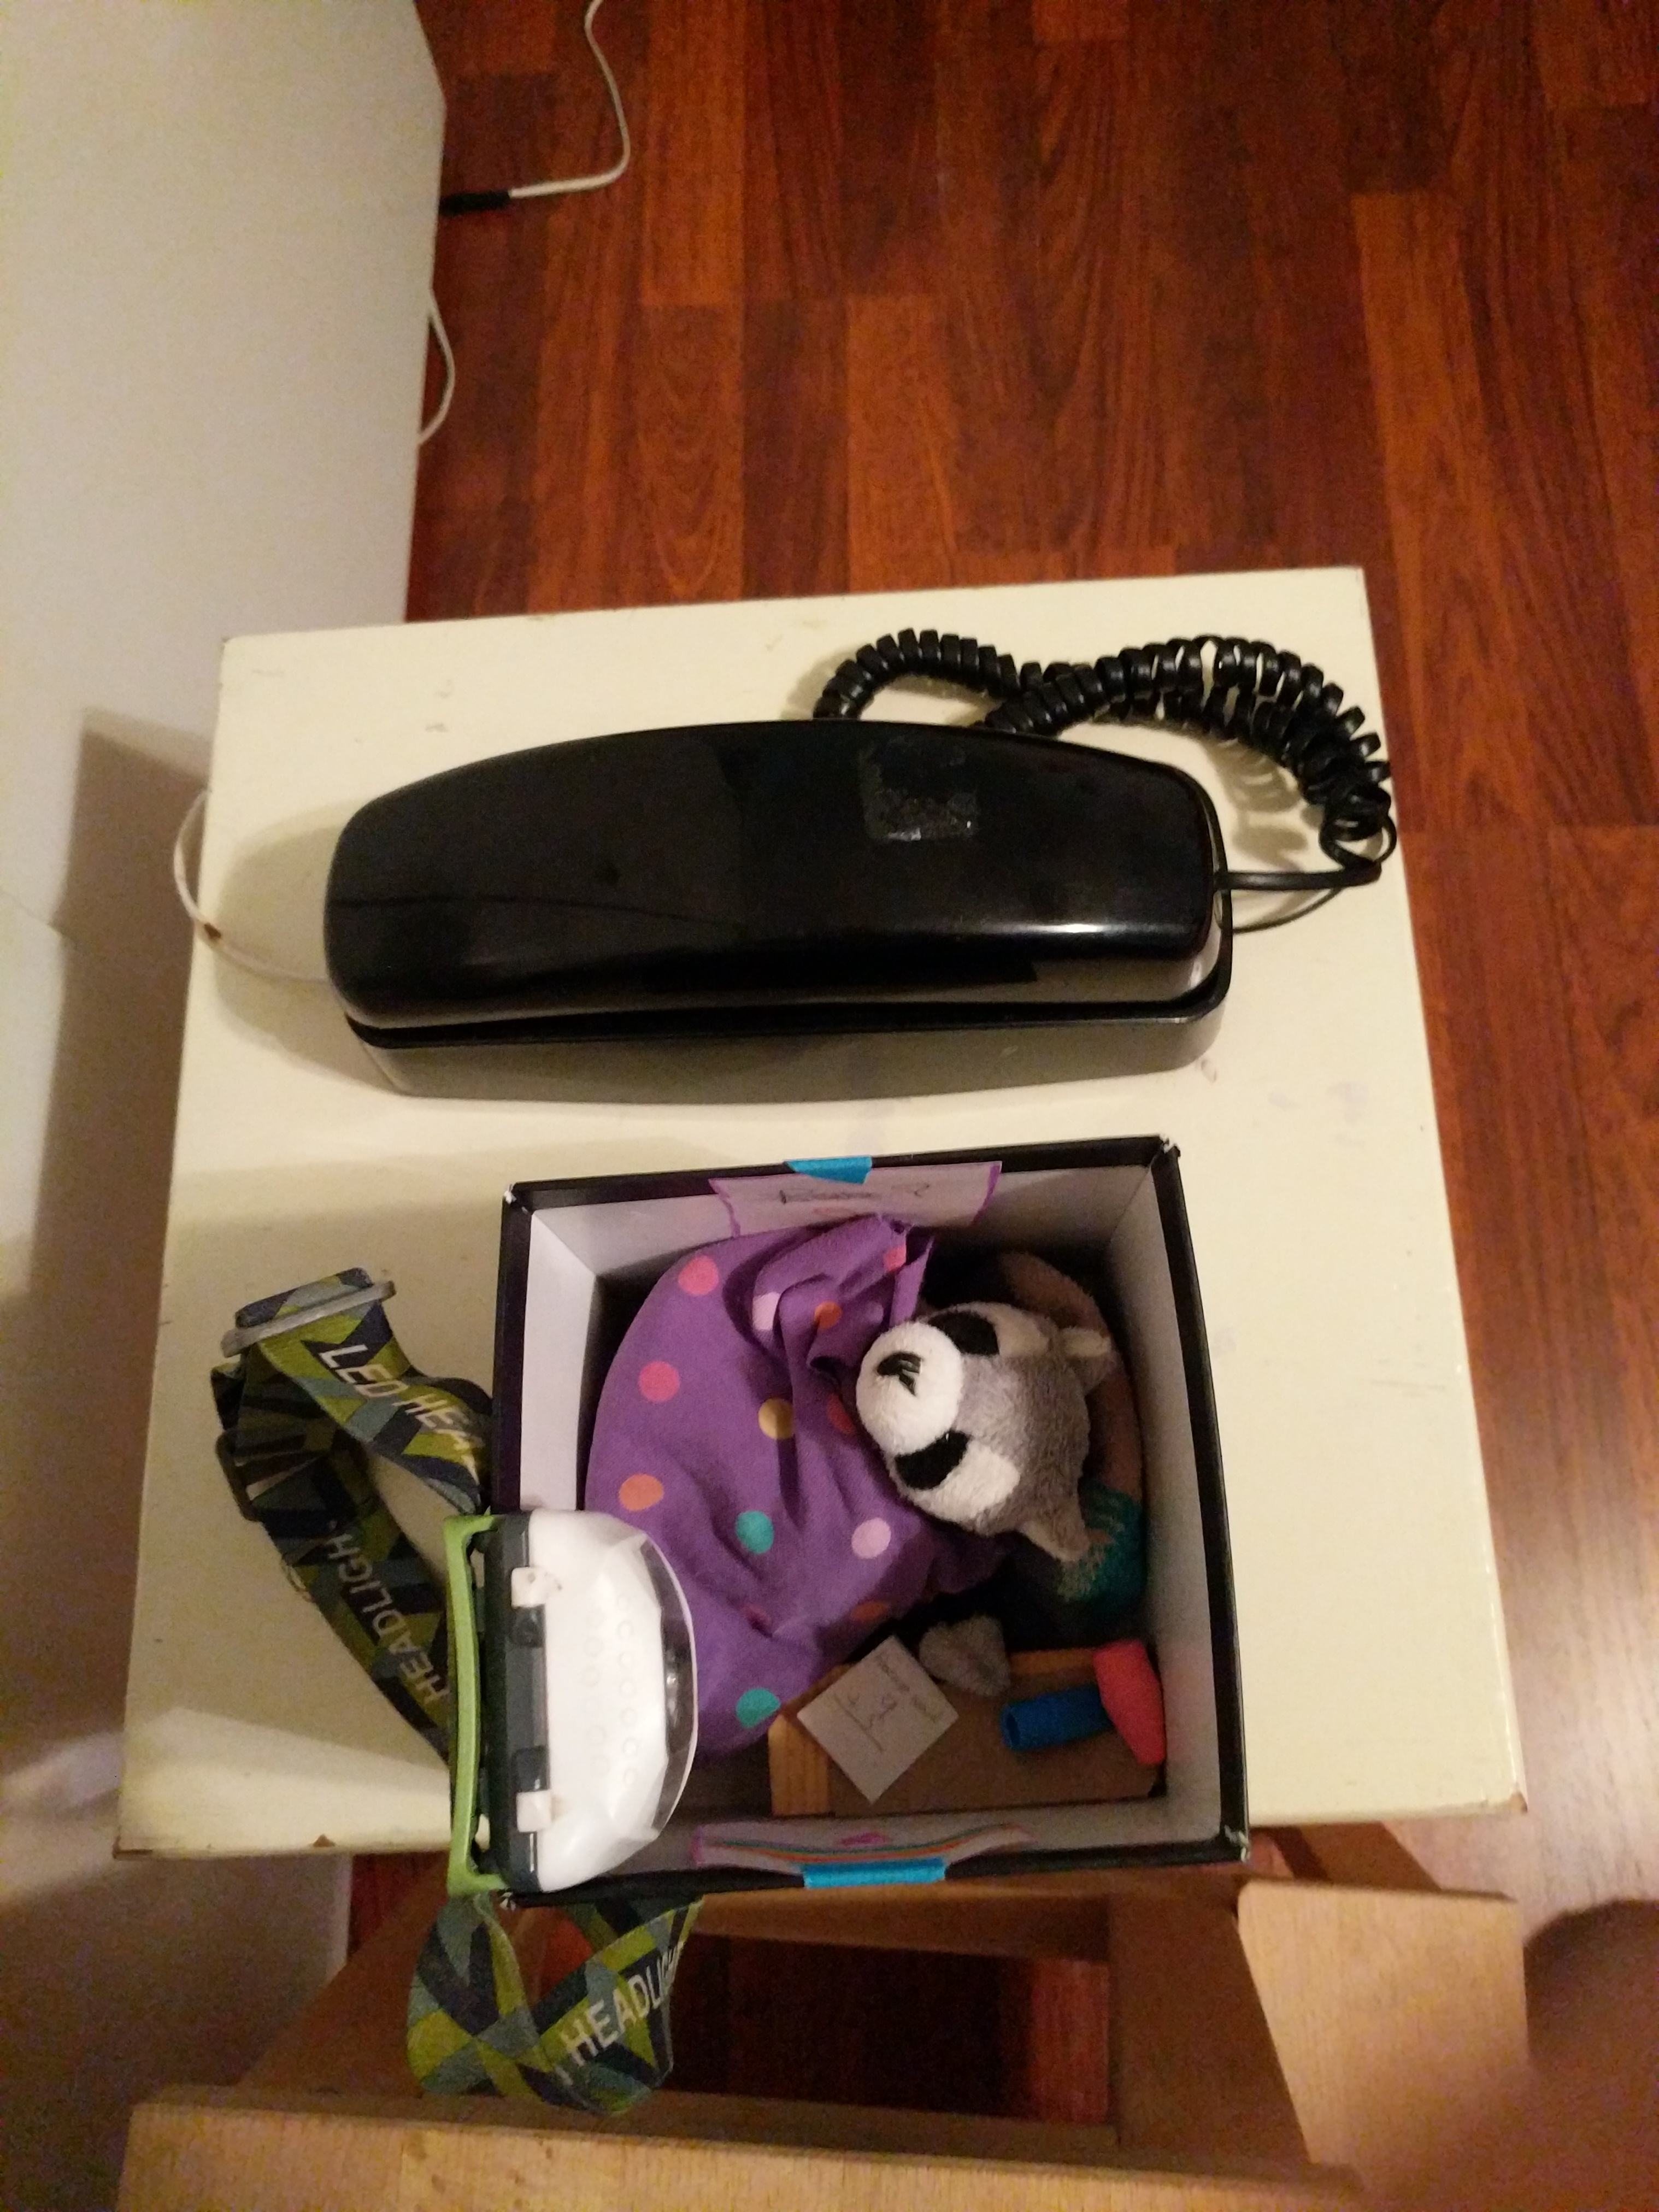
With two hard phones set up (just plug ’em in to the ATA), I set up me and the wife using the built in client on our phones. Now we all had a phone and could call each other. See the gallery below for the visual story!
On a personal note, this was pleasing for a two reasons:
- I saved 3 small electronic devices from the landfill. More and more I’m trying to be conscientious about buying less or buying used.
- My kids got to look up at me and say, “it’s making a weird sound!?” I explained to them that it was a “busy signal”. See, cell phones, office phones and 99% of home phones don’t do this any more. They have either call waiting or voice mail, or both ; )
